Struggling with the choice of the best approach when implementing a Drupal project? Let’s go through the essential pains that every Drupal developer experiences and see Layout Builder may be the best way to go based on the finished case.
In particular, let’s go through such topics as:
- Drupal “Page builders”
- Layout Builder from “experimental” additions
- Layout Builder as it is now
- Why we used Layout Builder
- Our improvements and pains resolved
Drupal “Page Builders”
If you work on the creation of a Drupal project’s backend and the words “layouts”, “gutenberg”, etc. sound more than familiar, you probably struggle every time you need to come up with the general page building approach. This usually happens at the start of every project a Team Lead has now to handle most properly.
What major options do we have? Let’s see:
- Bricks
- Panels
- Lndr - landing page builder
- Page Manager
- Gutenberg
- Layout Builder
Panels, for instance, is a very common efficient solution for most, well remembered from Drupal 7. They are pretty convenient to handle, but it’s hard for any “non-Drupal” person to get a good grasp on them fast.
Then there’s Gutenberg - a pretty interesting new project editor solution that isn’t, however, polished enough for the best use in the field as of yet.
August 2018 saw the release of Drupal 8.5, which introduced the Layout Builder as an essential experimental module. That was our primary choice for the development of the new project, and we’ll give you more than one reason why we went with it in the first place.
Speaking of our practice case, our team needed to provide the client with an intuitive, friendly content management solution, and so we had to fulfill the following requirements and questions:
- Limit lists of blocks per content type - you know how when you click “Add block” in the Layout Builder, you get a screen filled with a whole bunch of various options. So the first question we had to clarify is whether we could somehow limit the list of blocks to make the content managers’ life easier. The default thing simply looks too cumbersome to handle.
- Limit lists of layouts per content type - the client had a clear requirement in that they wished to have an ability to use any kind of layouts they wished anywhere in the platform to fill them with blocks.
- List of settings per block inside builder - the next thing we had to provide is the ability to, when working on the structure of the website (adding blocks and such), add certain basic settings (you shouldn’t necessarily need to know which particular settings you will have to add from the very start, but stay sure that you will need to do that one way or another and the number of required settings would formulate in the process of building pages).
The major gist of the platform we were working on is that the client wanted a solution that its head office would distribute among the Markets located in different countries. Thus, every Market gets an optimized builder interface to handle projects individually the way they see them in every other country based on a single platform.
Read also: the detailed roadmap for Drupal 8 to Drupal 9 migration
On top of that, we had to provide an interface that would be equally easily grasped by the 25 people (the client’s team) who would be working with it.
The Main Challenges We Met
- People who have never seen Drupal
- People can’t imagine what they want
- How to teach all Market reps to work with Drupal
- Prioritize requirements from Markets
- How to make the life of 30+ people who will be using the platform easier
- How to deploy new layouts/updates painlessly
When we were going through page builders to choose, we almost decided to teach everyone to use panels eventually, but timely understood that we wouldn’t be able to do that efficiently even in a week’s time. The idea to adopt a Drupal-based system was the head office’s one and so all connected offices simply had to deal with it. That’s why we just had to create something that a non-Drupal employee would be able to understand and efficiently use in working practice.
Then there were the priorities in different Markets’ requirements. We needed to help everybody paint the big picture step by step so that they would, for instance, understand that it’s unreal to complete the project in a month’s time or so.
Lastly, surely, we had to come up with a painless way to deploy all new layouts and updates for end-users. All the platform specifics needed to be as clear as a bright day to every other user.
All this spawned a necessity for a week-long brainstorm to figure out each point in the most optimal way possible. This included choosing the most proper page builder.
A Long Way to Choose a Builder
We came up with several most optimal options to choose from:
- Panels/Page Manager = hard to learn. People can use simpler systems nowadays.
- Paragraphs + Bricks = ok, but not what we wanted exactly.
- Layout Builder = ok, but not totally stable.
As we already mentioned - panels were simply too difficult to handle for inexperienced users. The second option was also a no go as the platform in the making was to have color, font type, etc. management capabilities, which would be pretty complicated and time-consuming to integrate with fields in paragraphs.
The final choice fell in favor of Layout Builder, despite its young age nature. In terms of all its shortcomings, we simply decided that we would improve all the painful aspects as we see fit.
Layout Builder from “Experimental” Additions
We started by deploying two essential modules that helped handle some of our major requirements:
- Layout Builder Restrictions - this one helped us set a limit of sections and blocks for each content type.
- Layout Builder Enhancements - and this one allowed us to limit layouts for the client to choose from.
Good Things about Layout Builder
- Dynamic Layouts (1-column, 2-column (25%/75%) width, etc.) - put any layout you want in any section and have freedom of creation;
- Live preview of pages being built - adding a block to the layout page, you can see an immediate preview;
- Easy managing of existing blocks - it’s very convenient to manage blocks, with reordering, hiding excessive elements, etc.;
- Custom add-ons to blocks - custom capabilities are pretty important when working on a project with a thorough approach.
These are the major benefits that made us ultimately choose Layout Builder as our primary tool.
Client Requirements
- Reusable blocks
- Easy to manage pages/blocks
- Flexibility in layout columns
Issues Encountered
That first bug we got early on was pretty peculiar. When you press “Add block” in the Builder, you get a slide-out list of blocks - a process enabled by ajax. We had had about 70 fields filled out for one content type when we decided to use Layout Builder. So what we noticed was that ajax takes 30-40 to even 50 seconds to load.
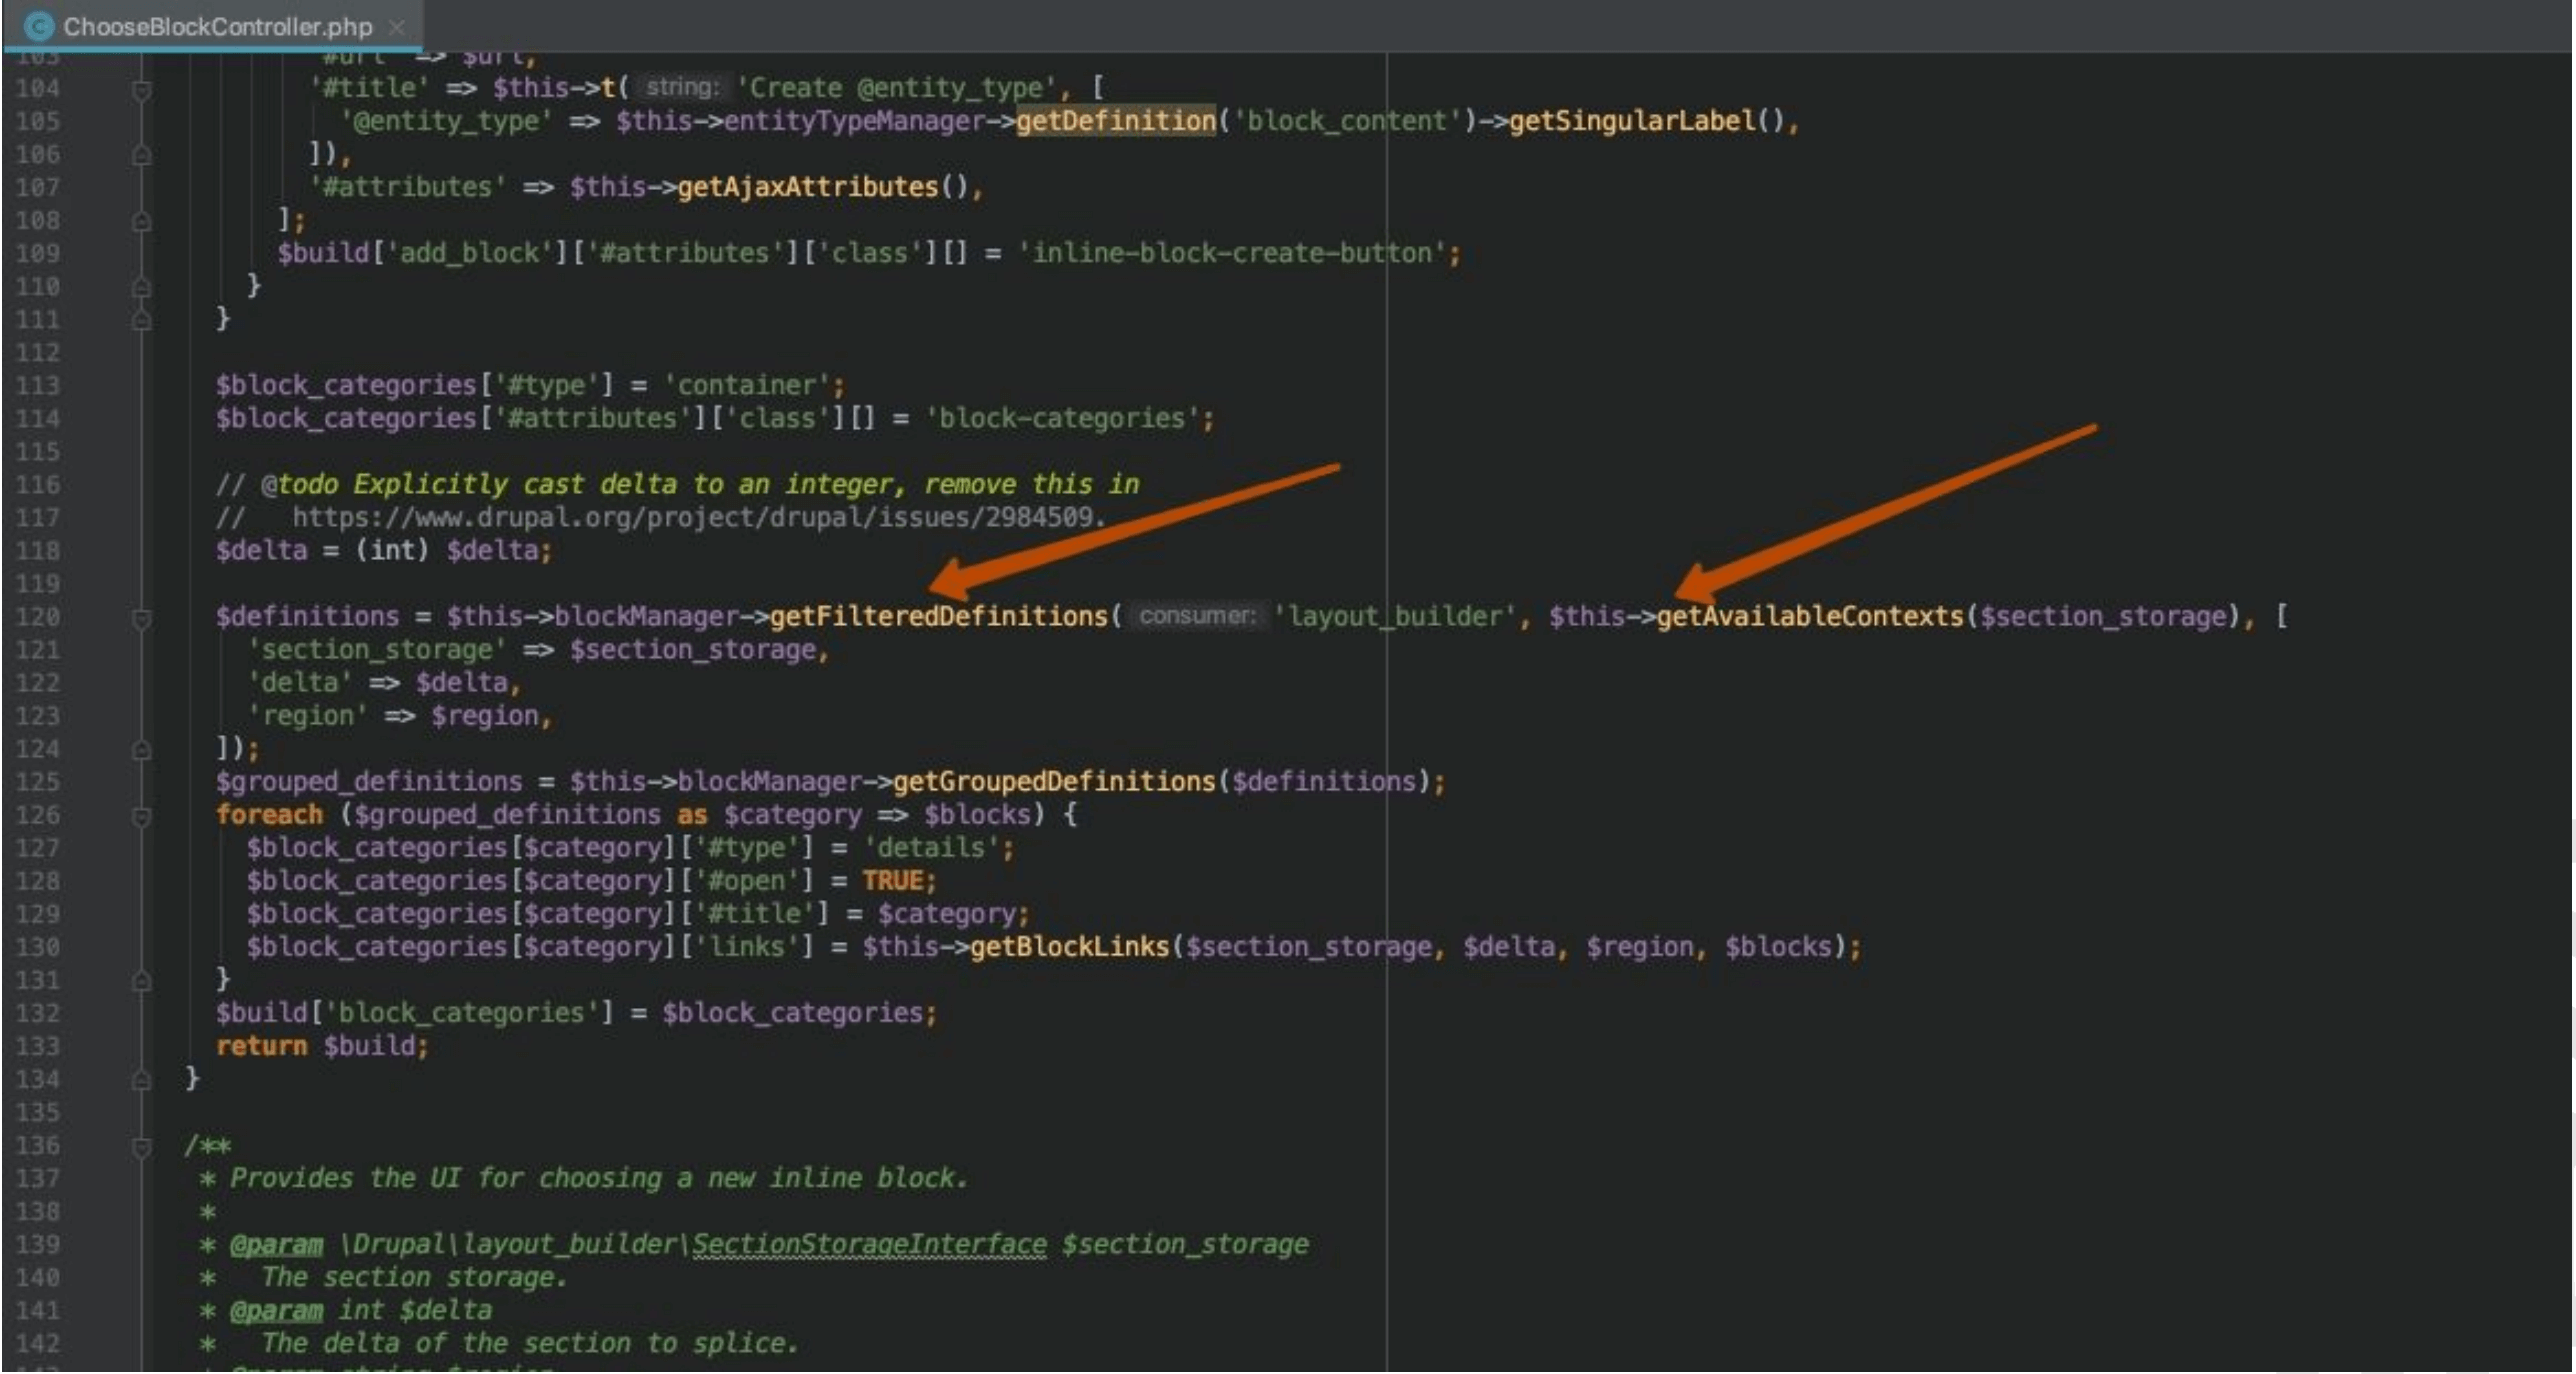
Even if you use a module that would filter and display particular blocks for particular content types, this module would still each time do its work with all definitions pre-loaded. We overcame the issue with some cache manipulations and clenched our teeth in fighting this nasty bug.
There were many issues encountered and resolved along the way, so we would like to put a big !Pain sign where every other issue is discussed further in the article.
Main Concept
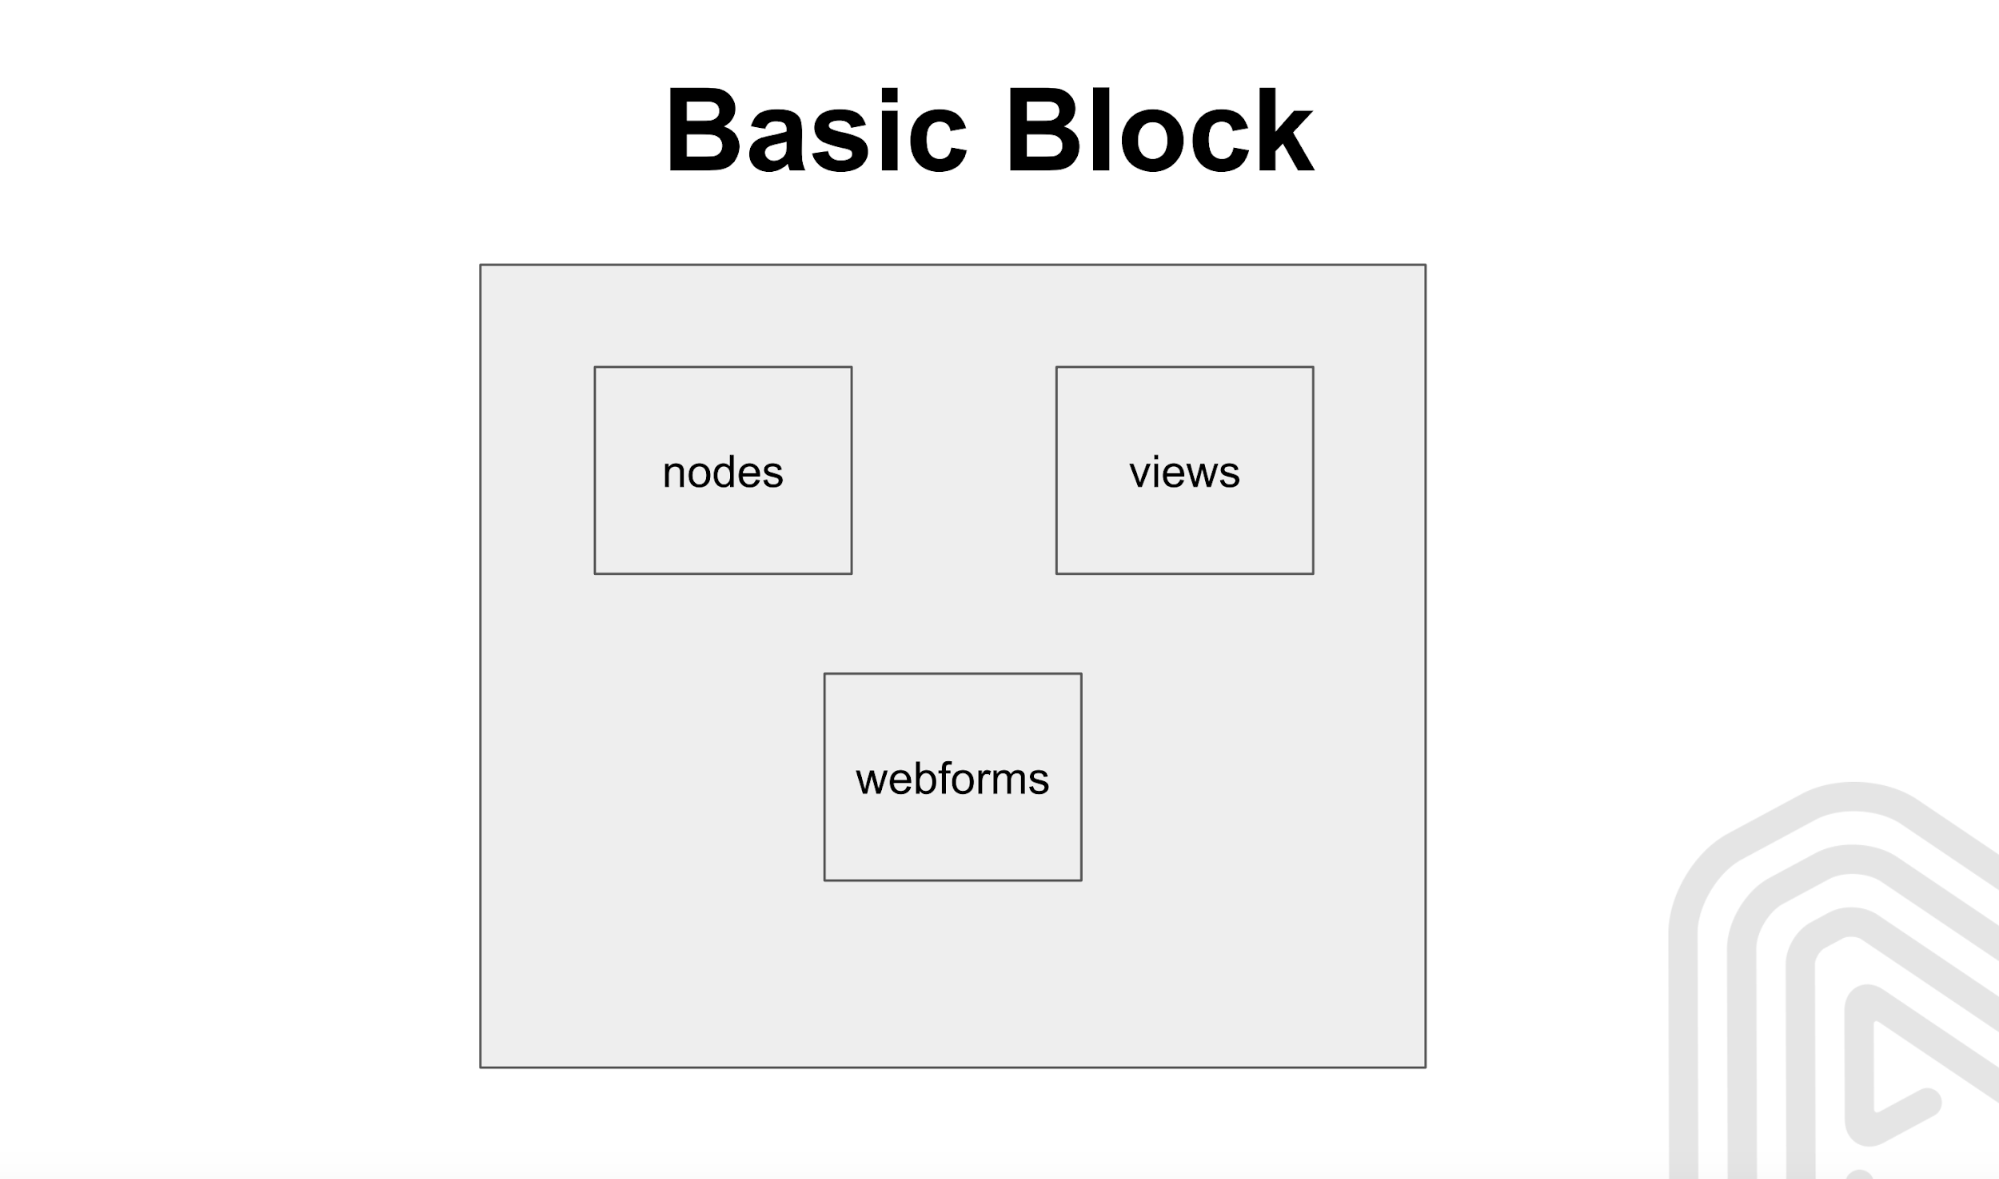
The general concept we had in mind when we were going for Layout Builder is that it would allow users to place either nodes or views or blocks or webforms - you name it - in flexible columns. But the problem here lies in that a regular user doesn’t know what a node or a block is. Thus, the management interface must be simplified as much as possible.

So what we had on the agenda was to get around these points:
- It’s very difficult for the client to understand the difference between nodes, blocks, views, and how to place the content;
- We need certain Basic settings for each placed block;
- We need to use PatternLab to implement the Content/Template Structure for Developers.
Finalized Concept
We came up with a universal term - Base Block, which combines all the elements one can place on the website (the mentioned nodes, views, blocks, and webforms). This makes things much easier to grasp for the client.
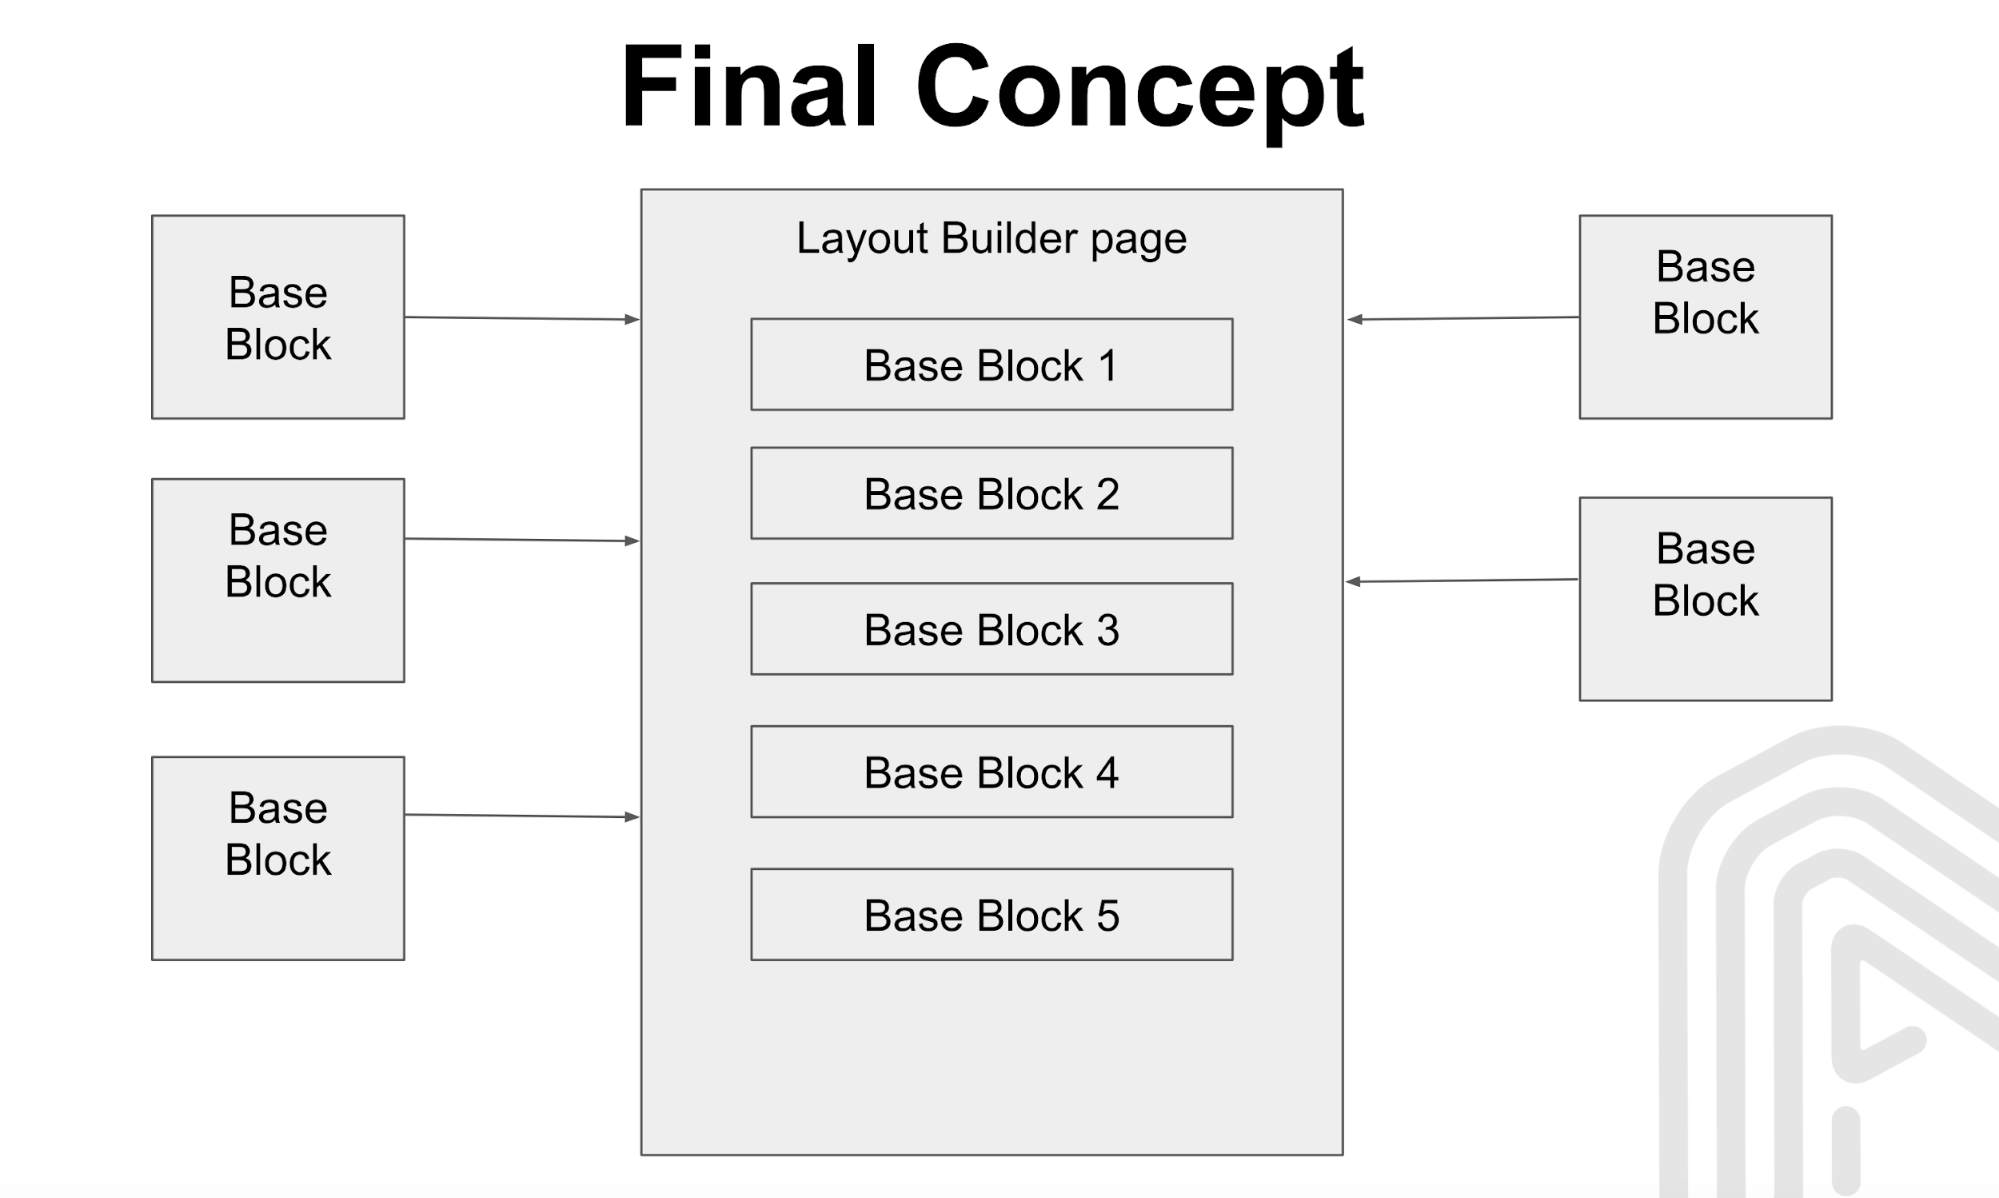
These Basic Blocks were the essential elements from which the new pages can be built.
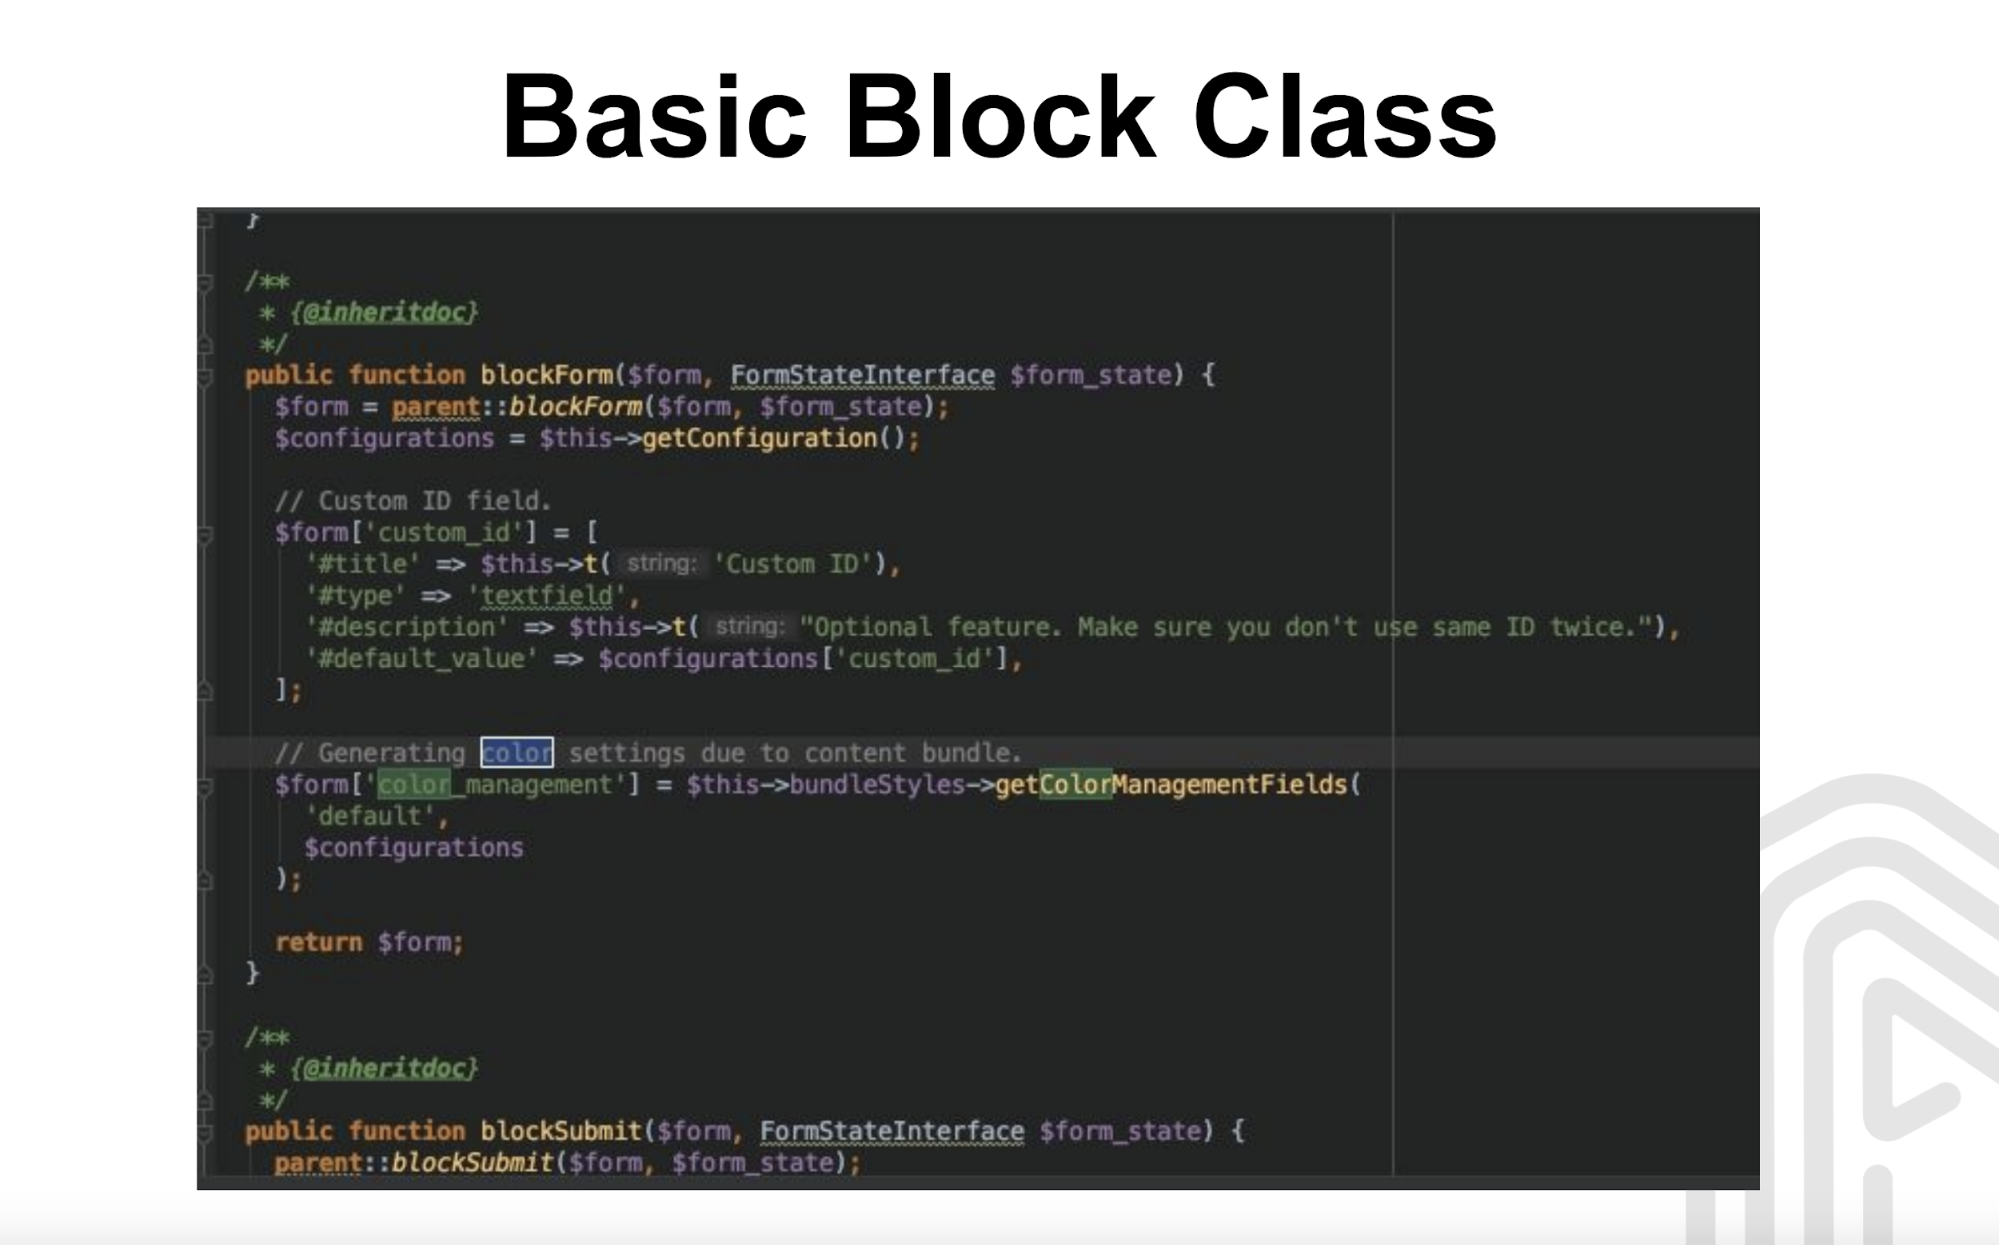
Basic Block Class
We took a standard blockbase class and expanded it into the custom Basic Block. Having had specified the Custom ID and color scheme, and connected Slider Revolution (a great plugin for creating banners with parallax effect), we moved on to implementing Basic Block settings.
Basic Block Settings
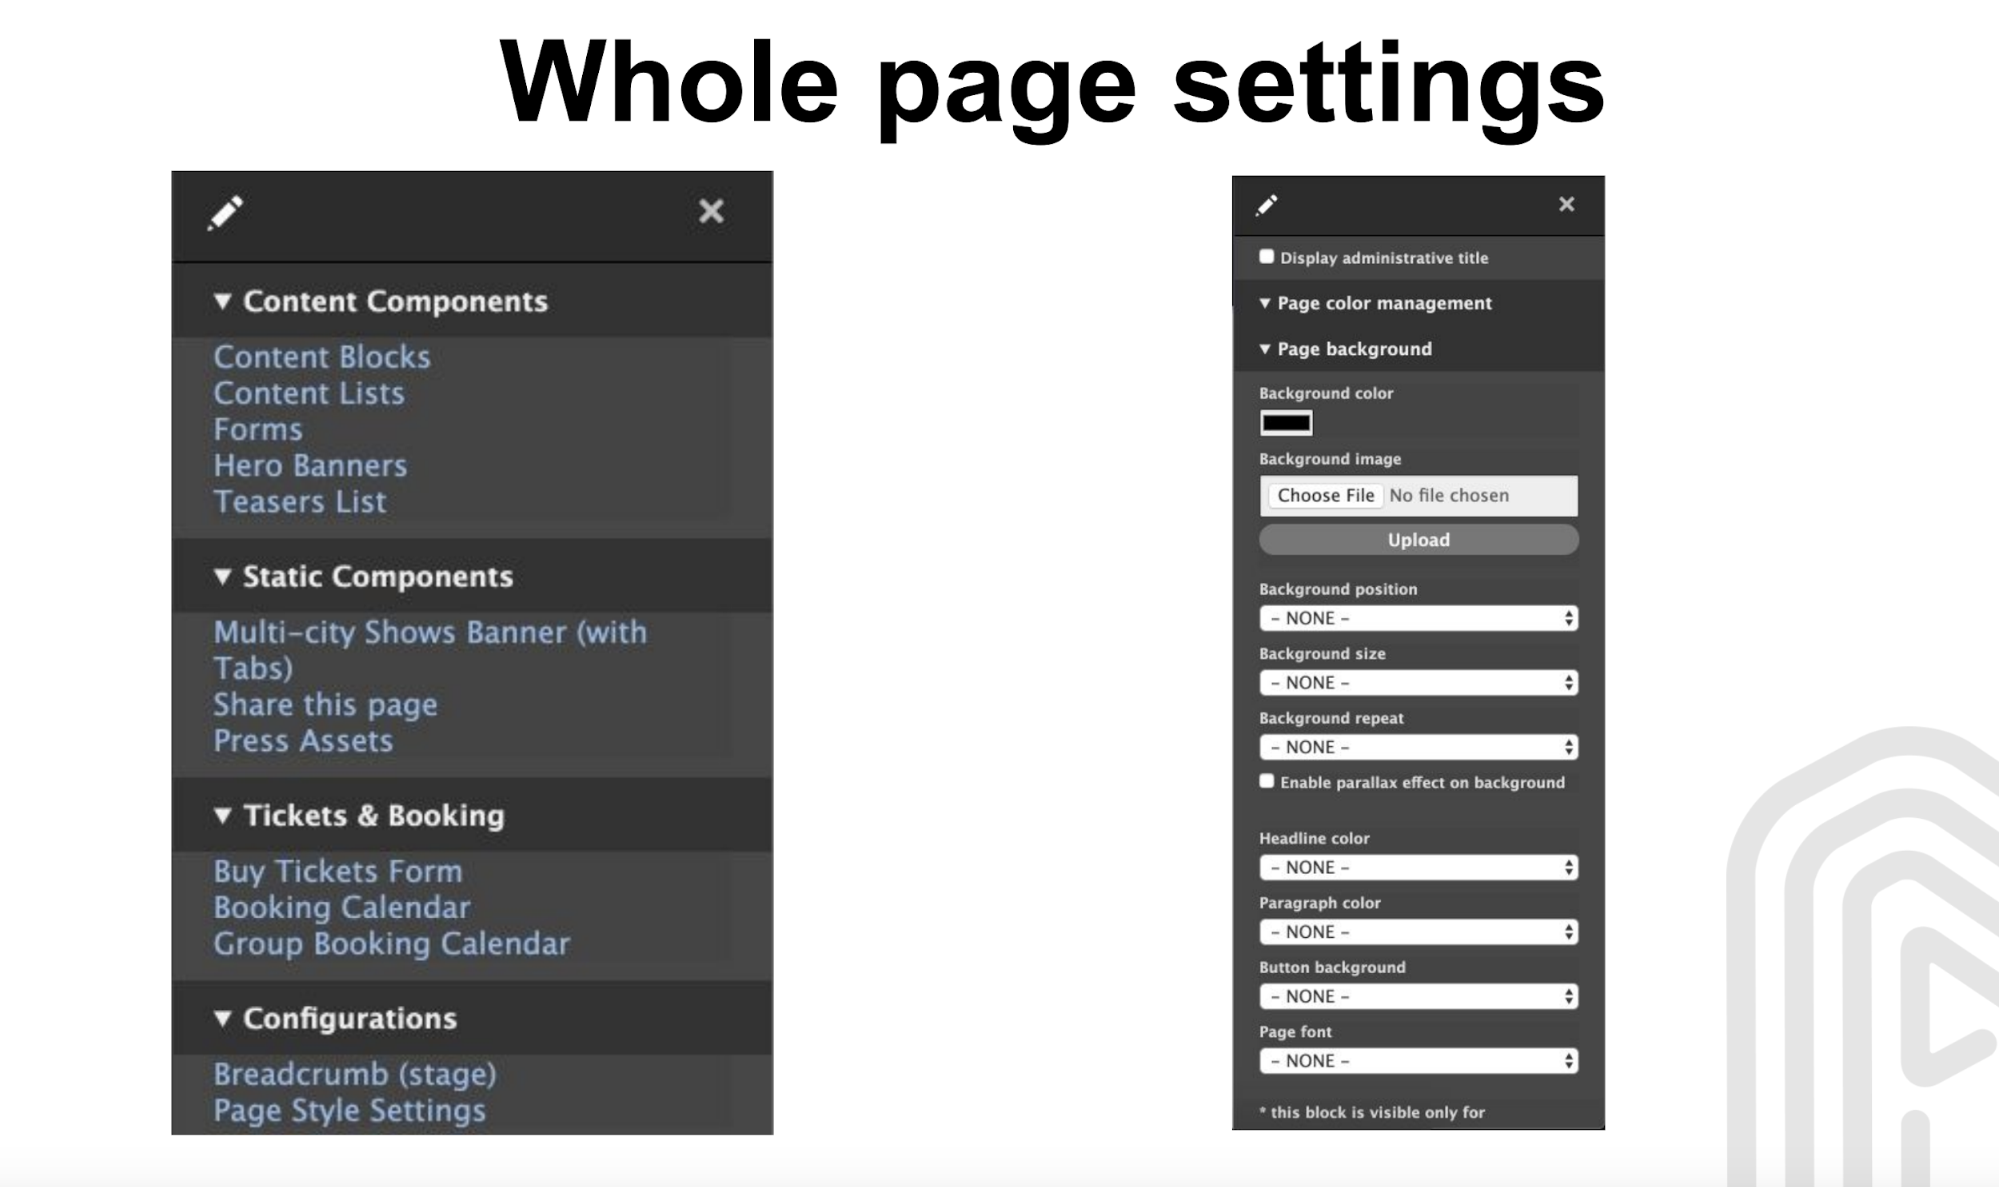
The idea behind this element was that when a user clicks “Add block”, he/she sees content components, content list, forms, etc. All neatly categorized and sorted to make the understanding of the whole thing much easier for a non-Drupal person.

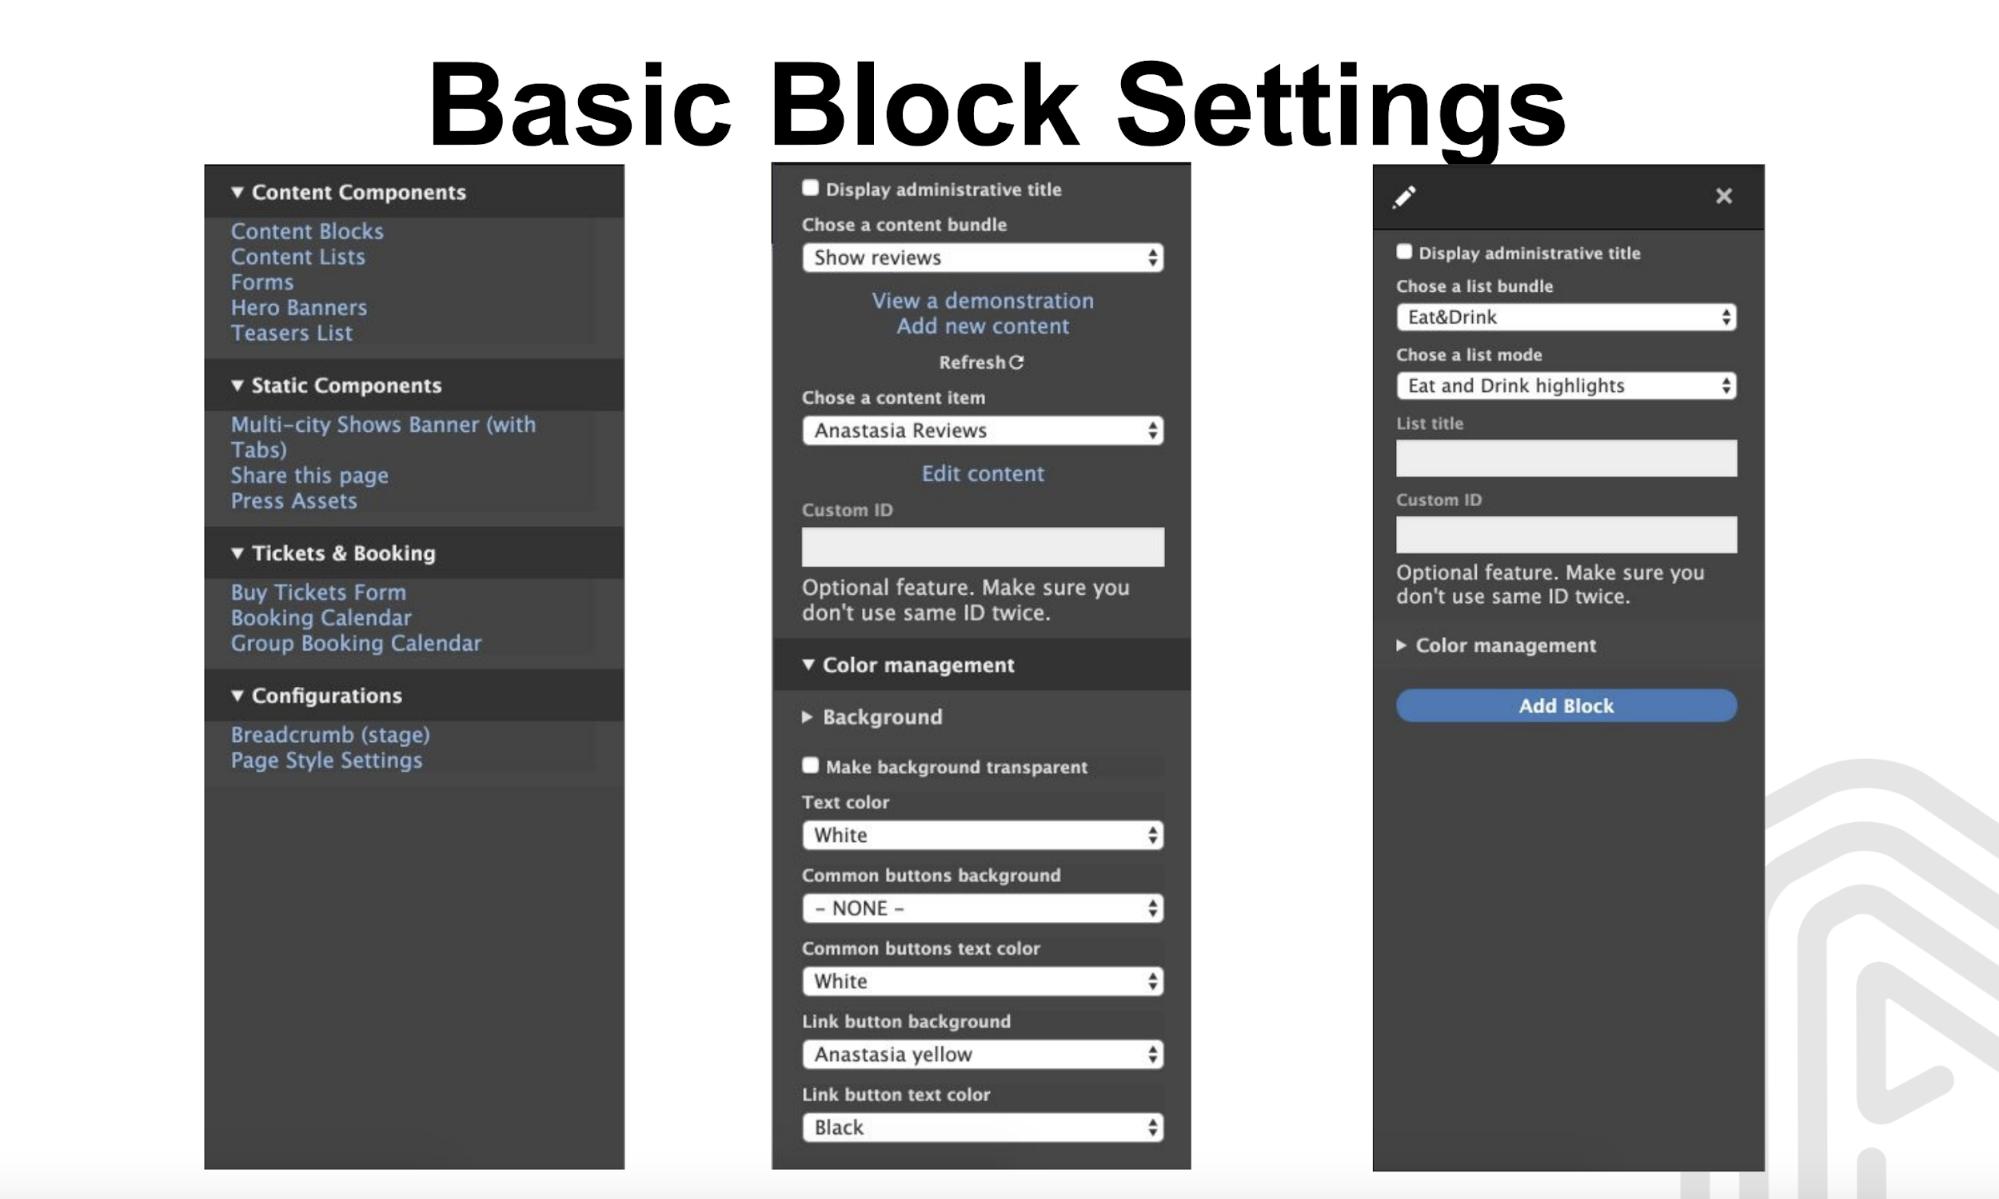
Blocks Added
Color list or color picker
Yet another crucial point to be handled was how exactly color would be managed. The choice was easy - color picker. Again, to make it all easier for users, we created a taxonomy that helped logically structure all colors.
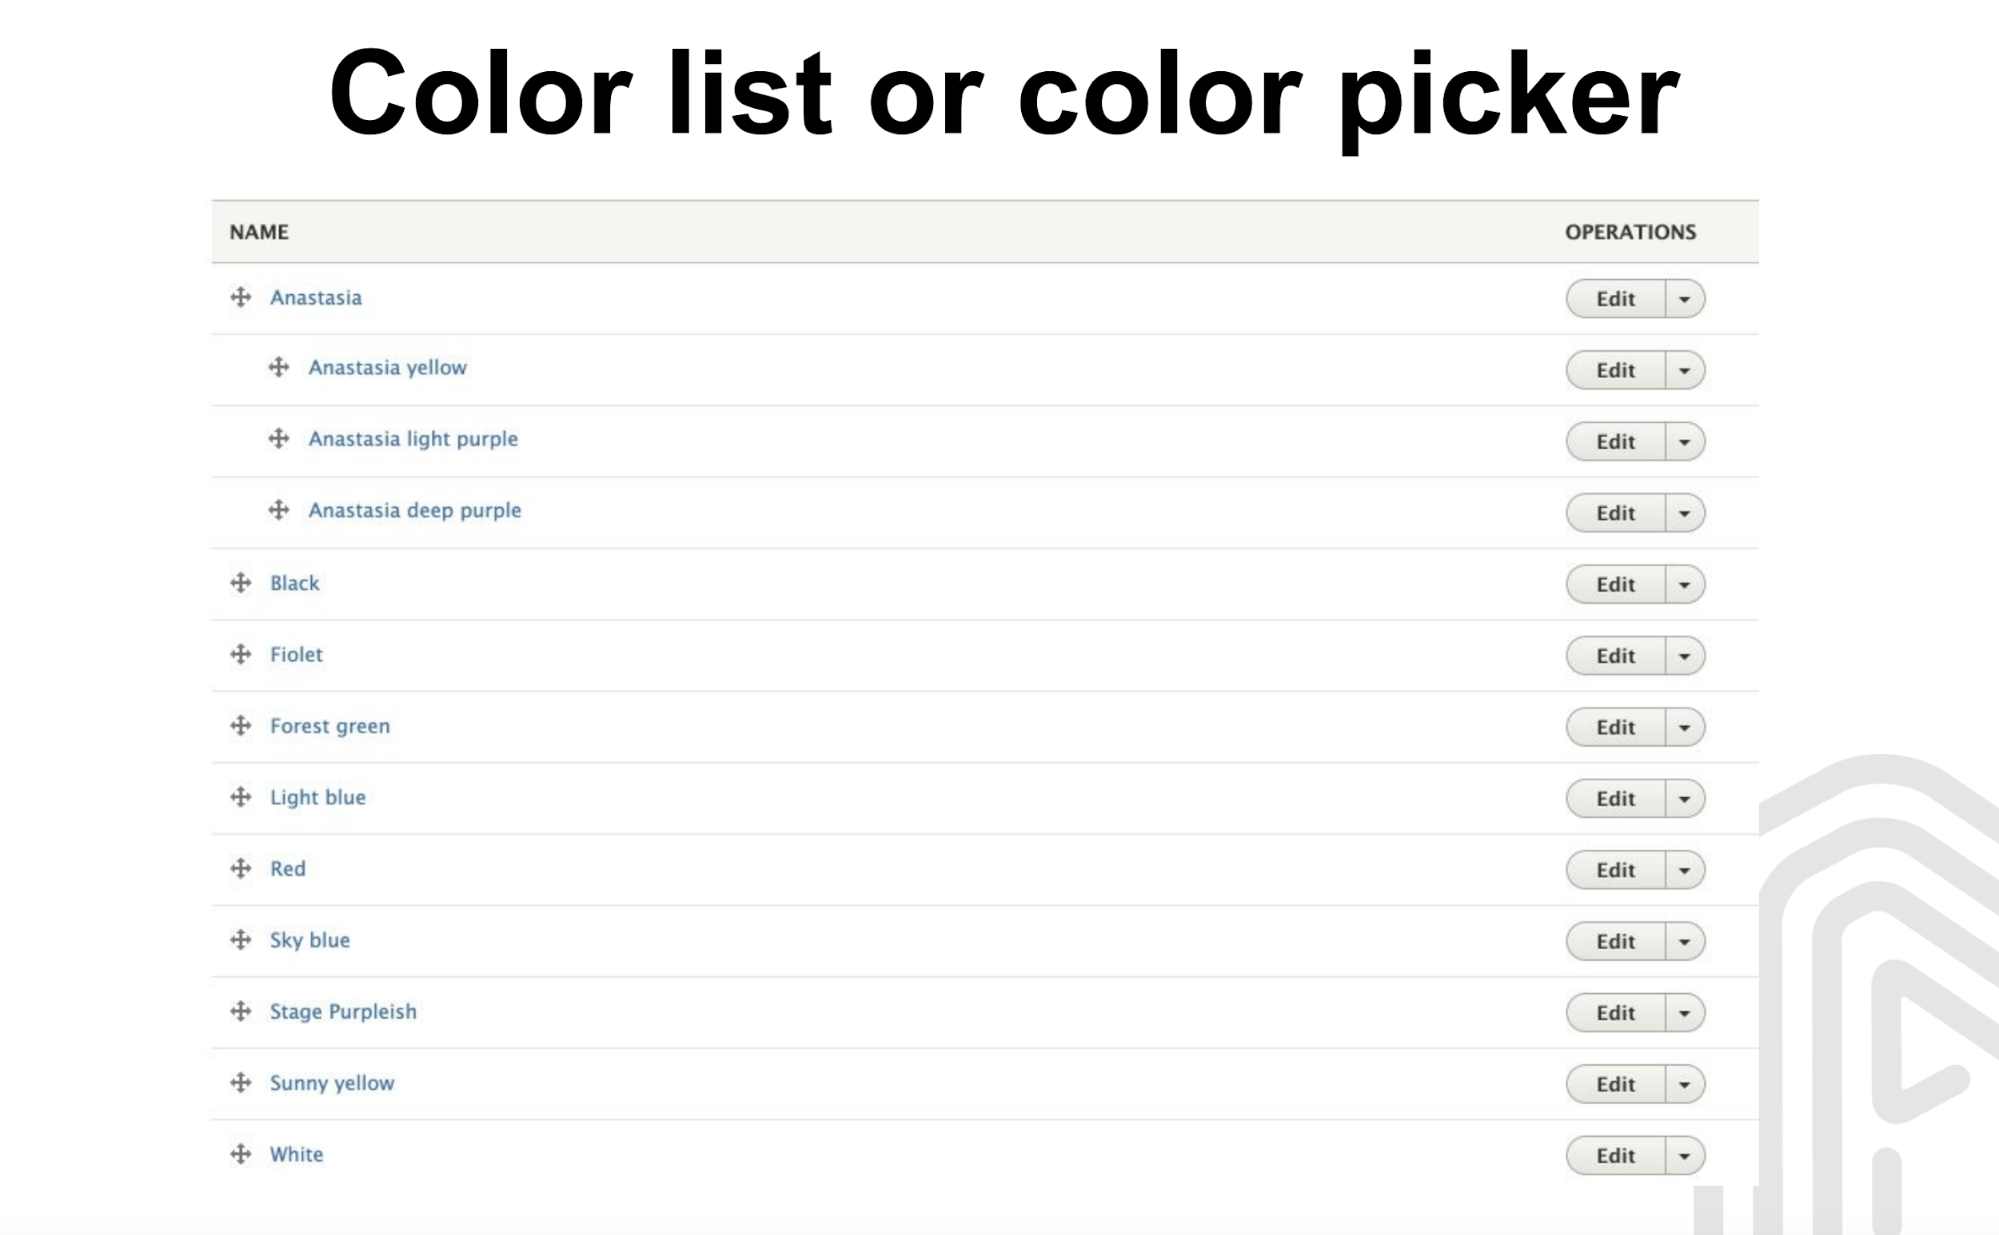
As a result, all you need to set colors is to add style in the Block settings - utterly simple to do for all frontenders and backenders out there alike. For each Block, a unique ID is generated. Through it, the picker is activated and the color is set.
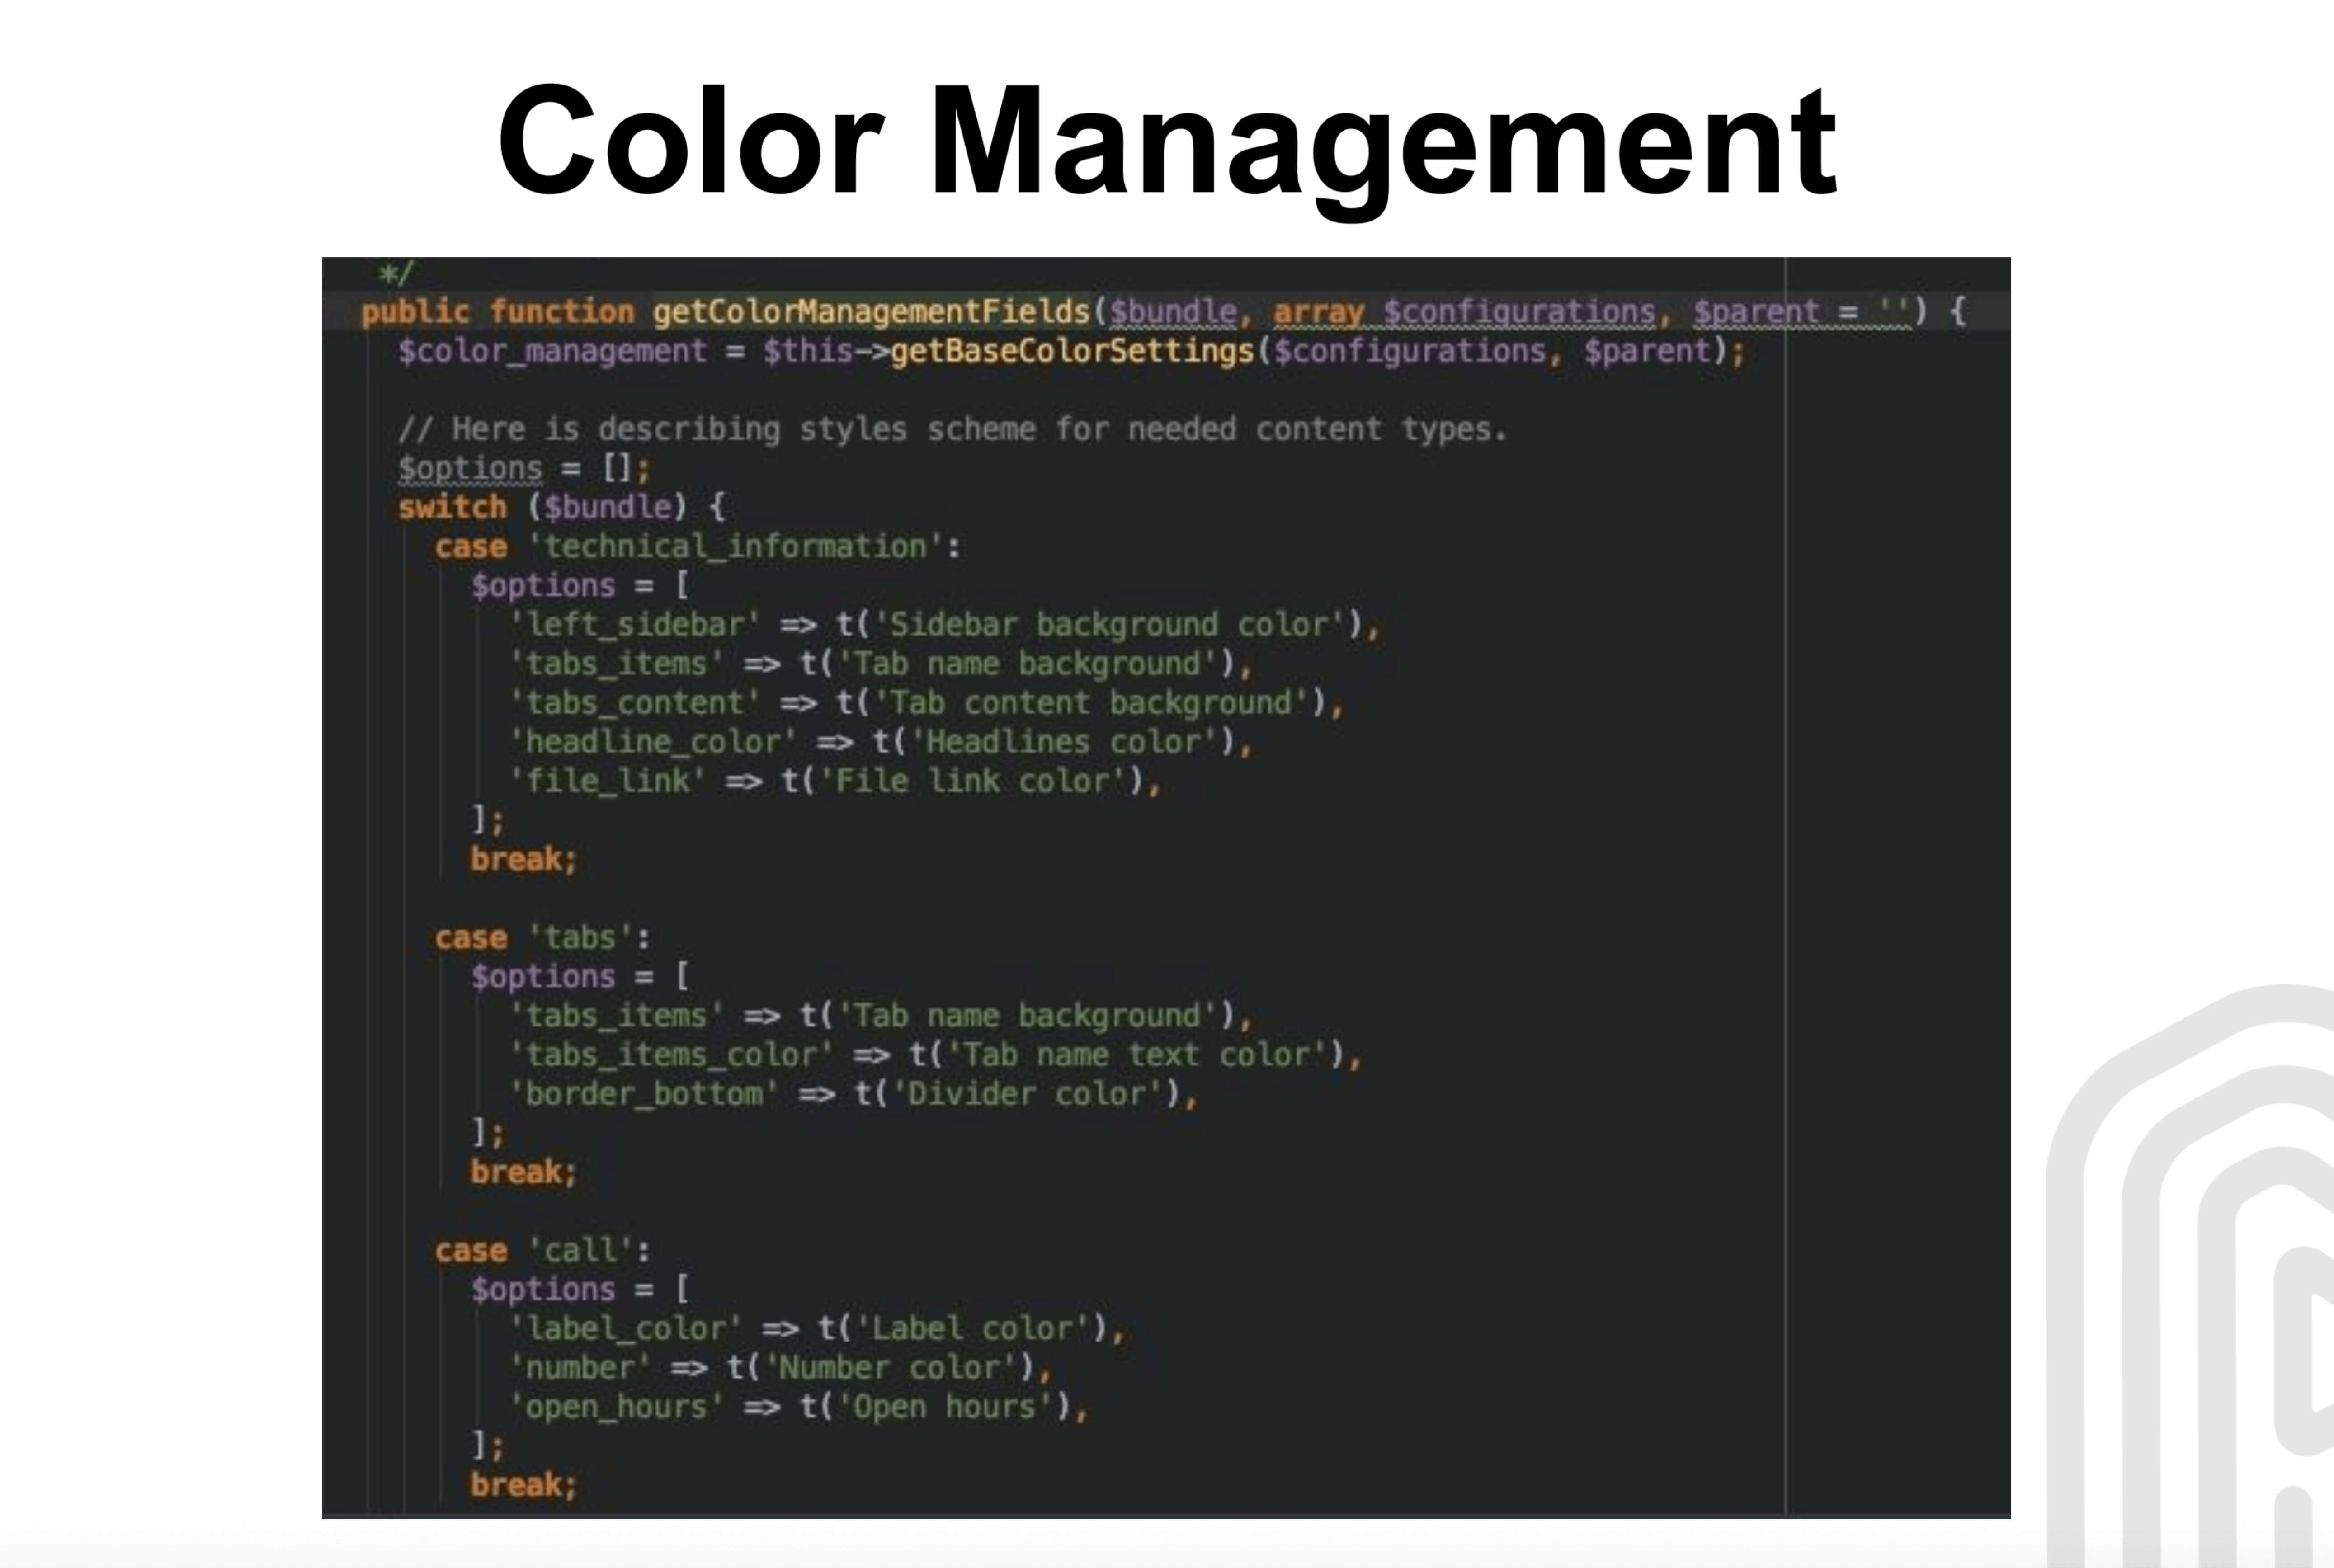
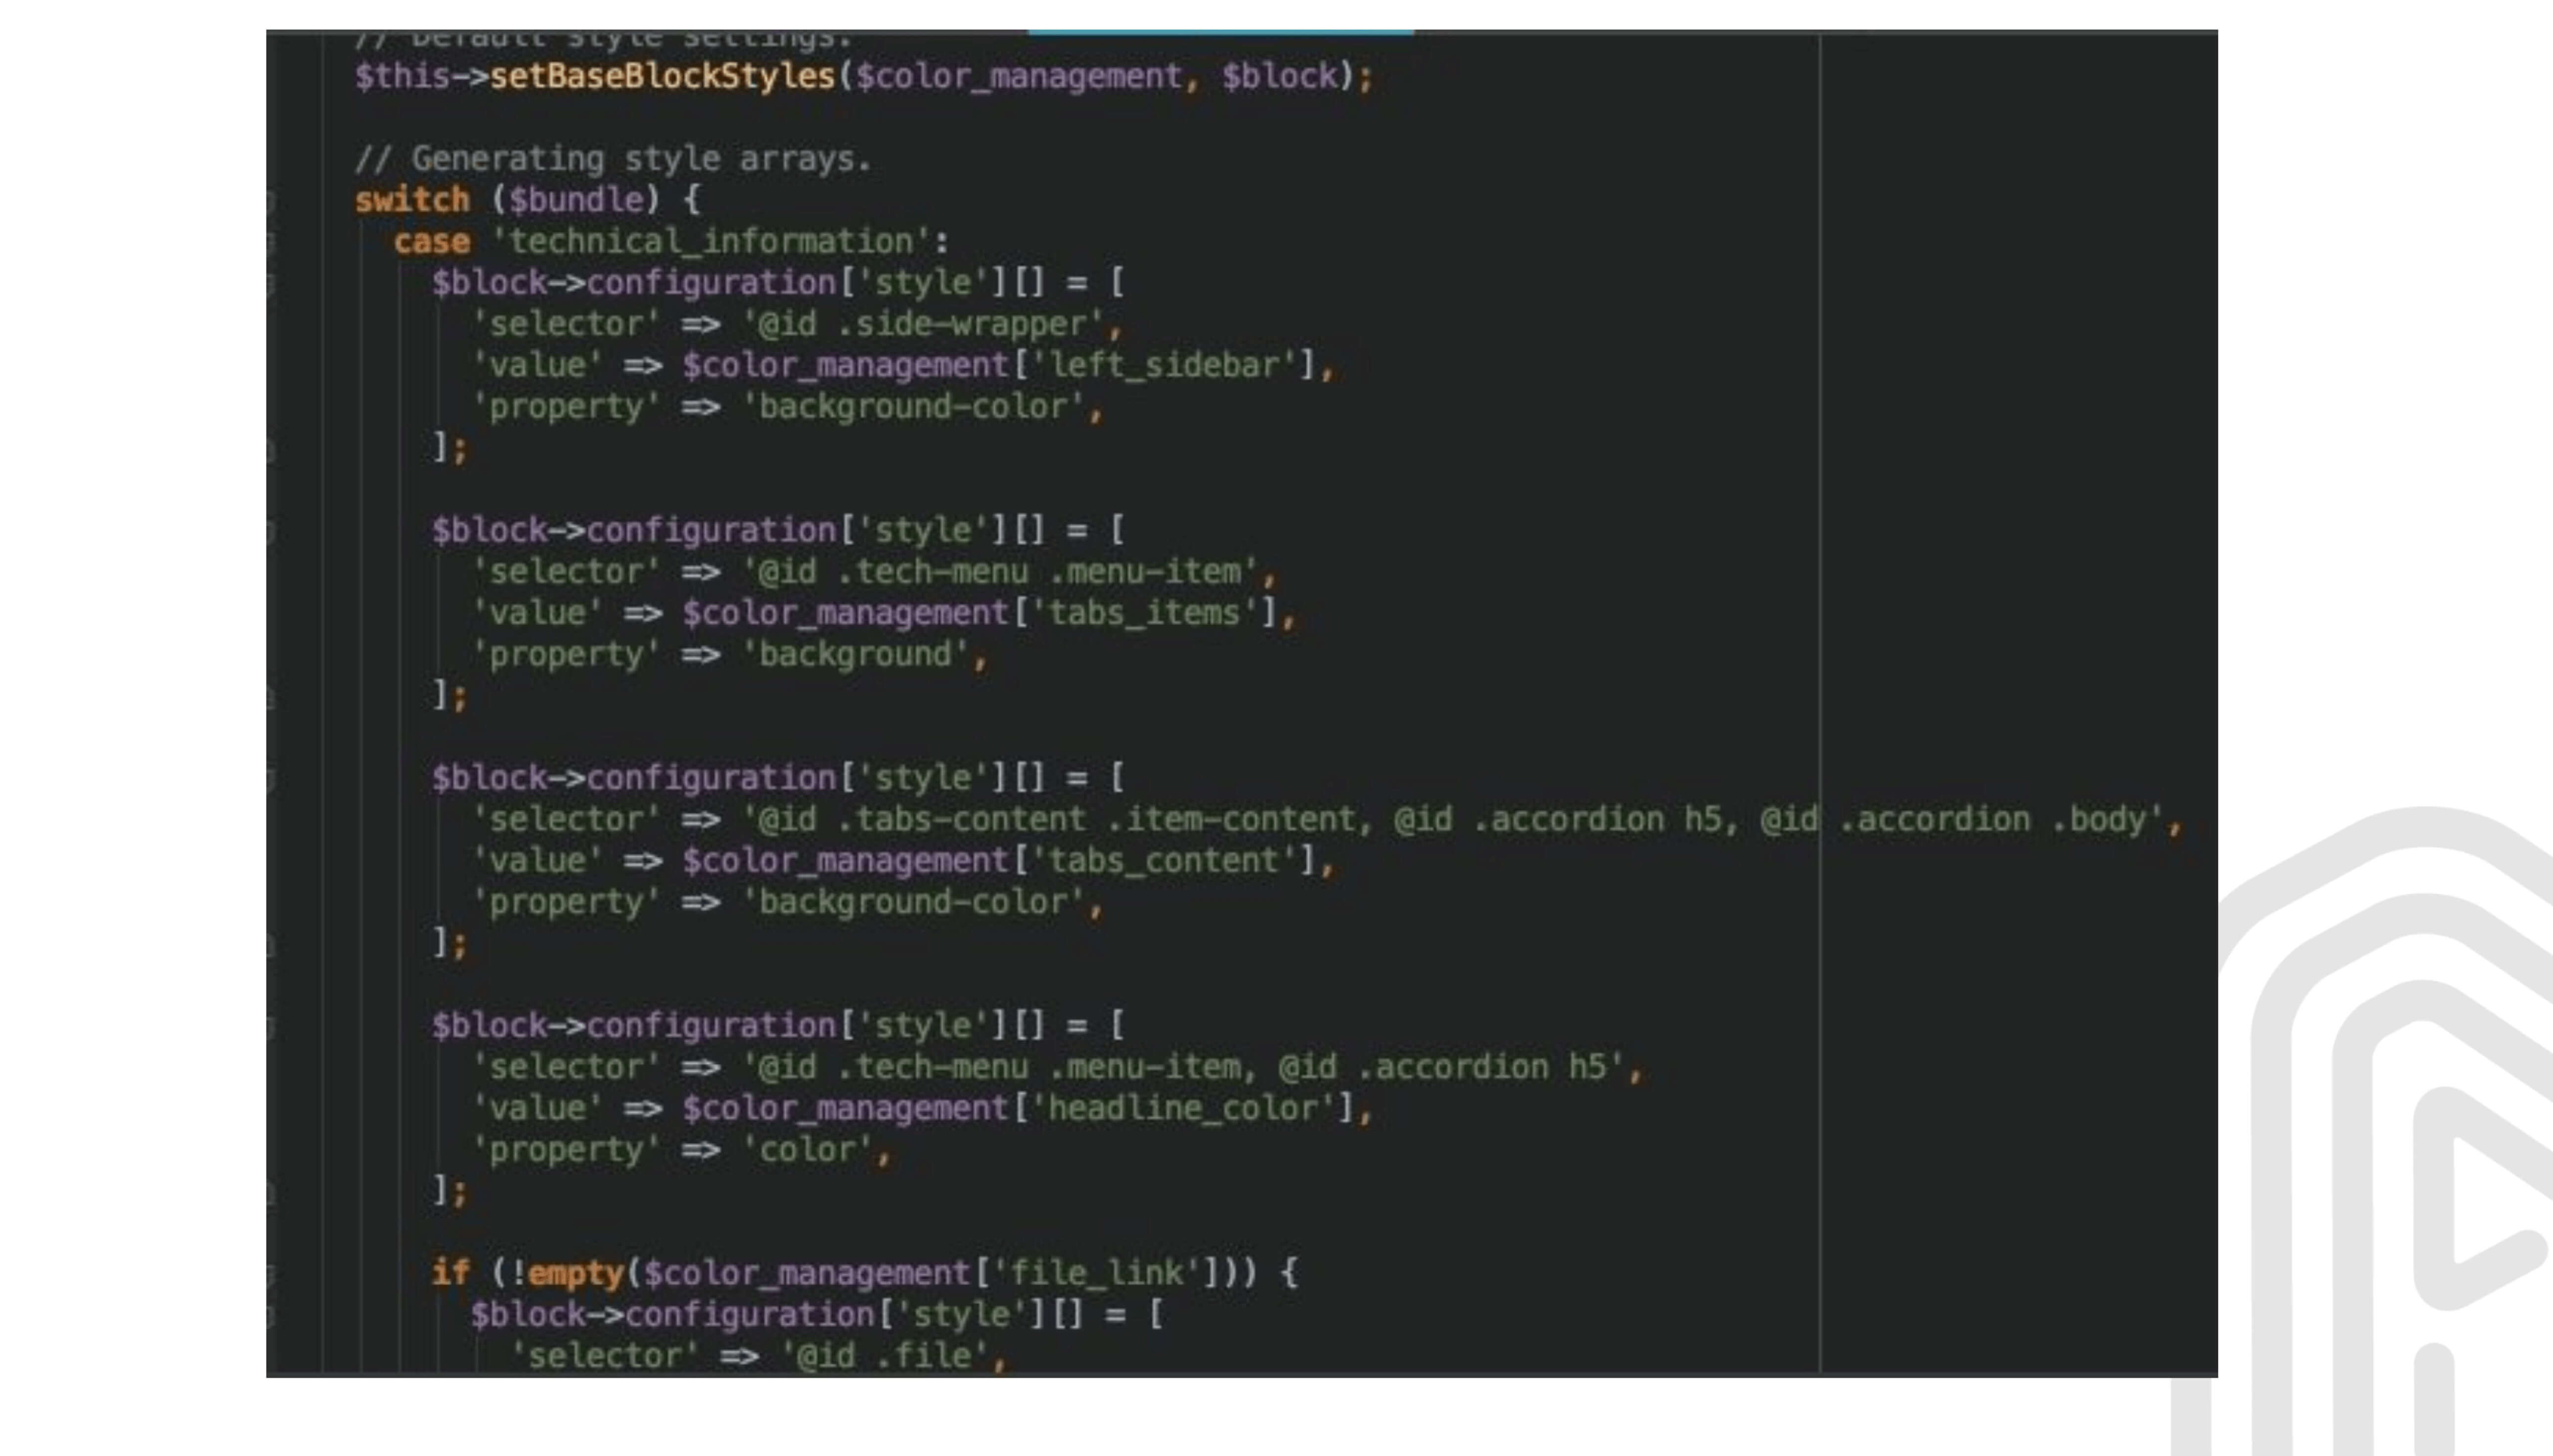
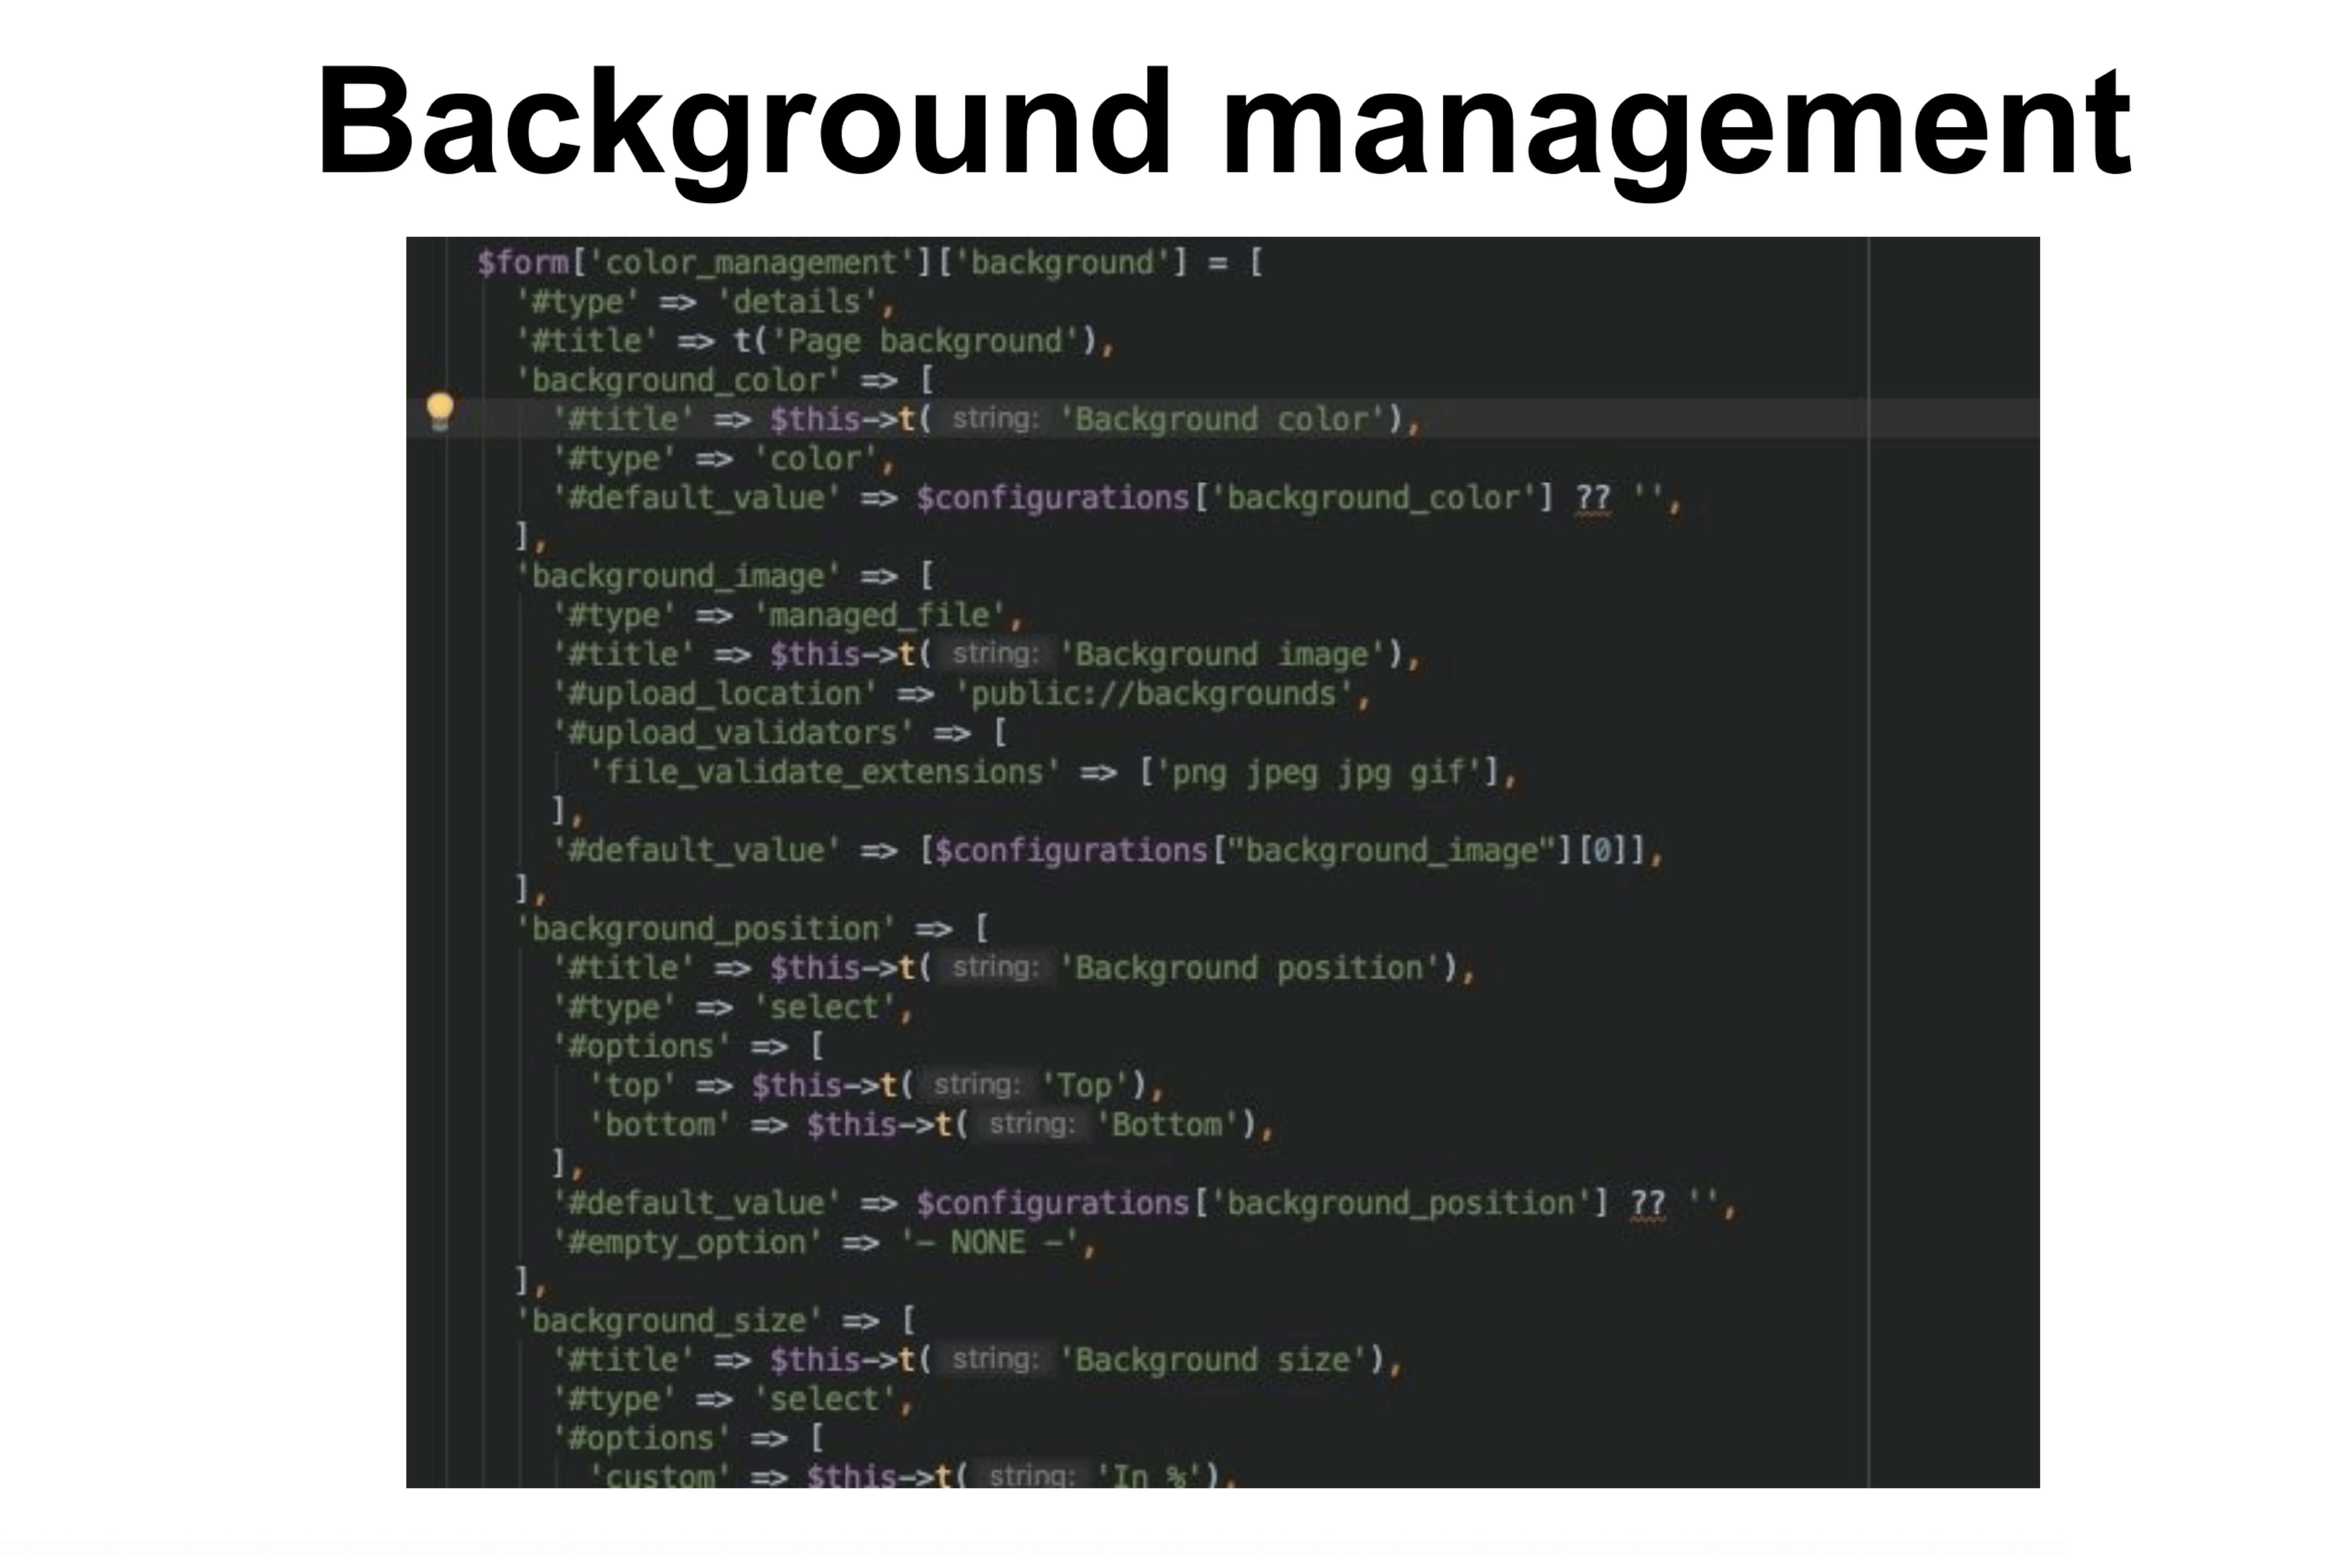
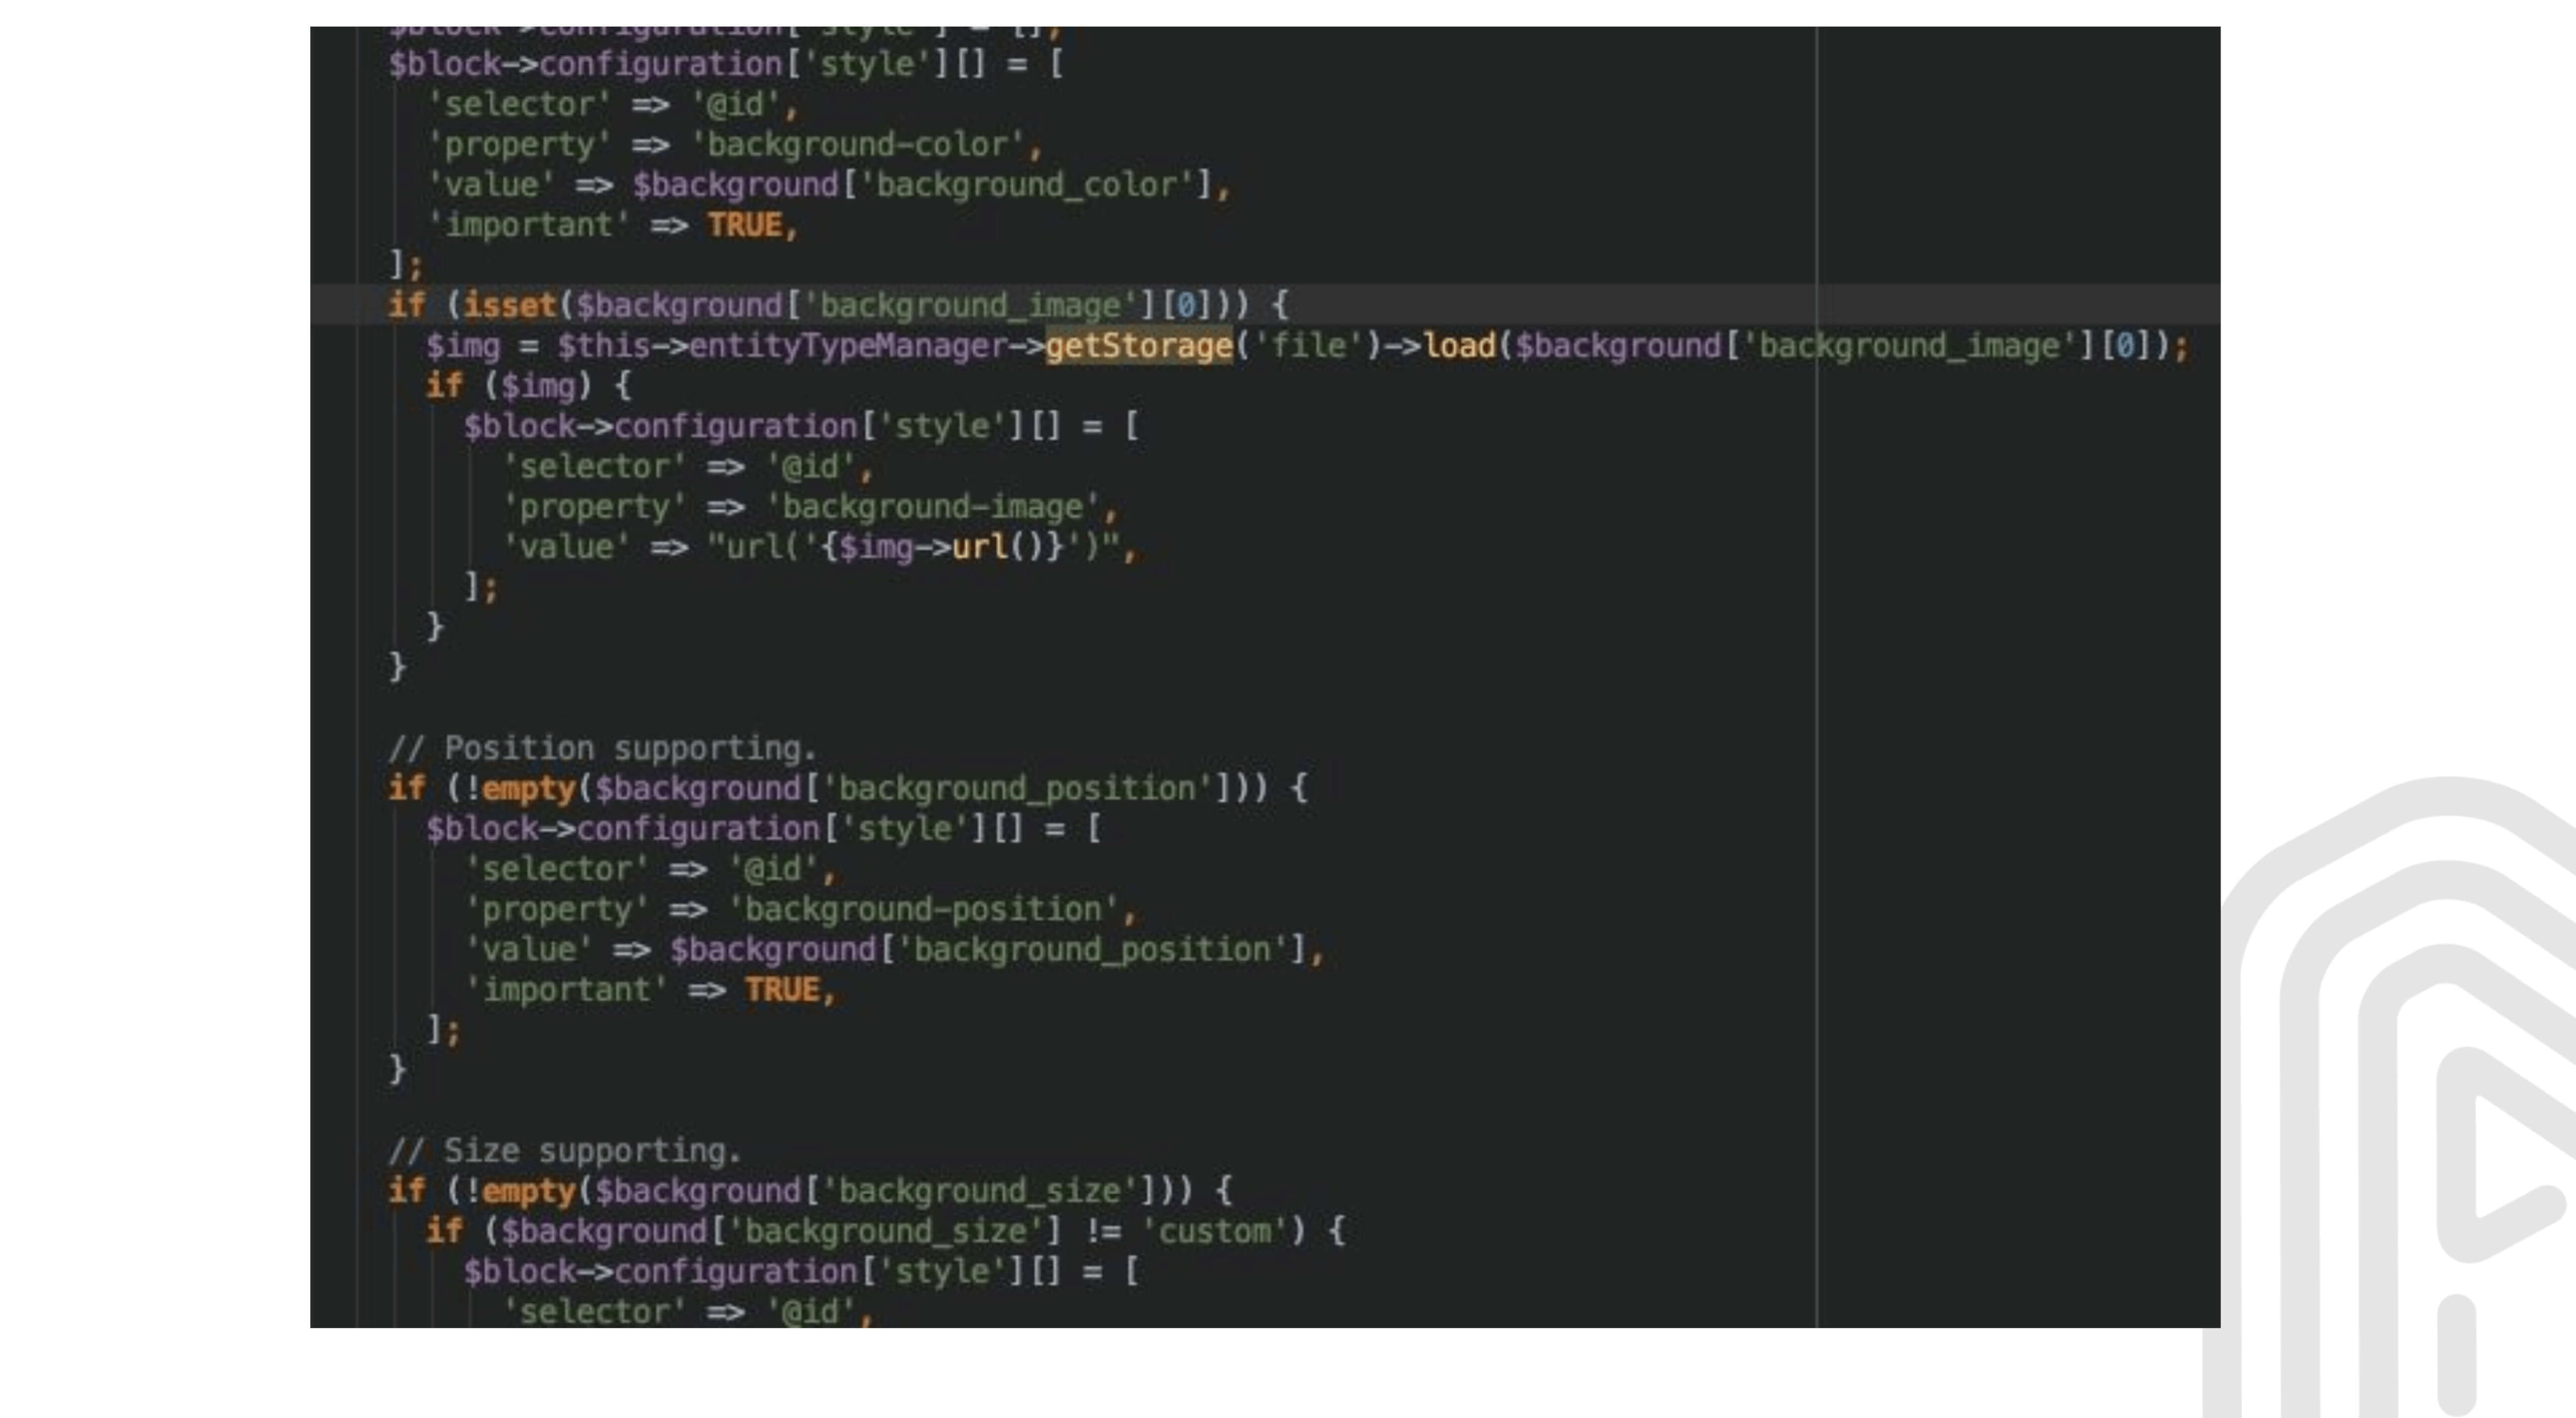
Background management
Moving on, there was a background and the ways to create absolutely various types of backgrounds for different purposes. For that, we created yet another responsible block.
Whole page settings
You can open the respective section, create a .php file, and thus start to extend any Block in any way you want. Pretty simple procedure to handle, we believe. By adding a Page Style Settings configuration to Layout Builder in any place, we access basic background configurations that you can enable for the whole page at once.
Collapsible blocks
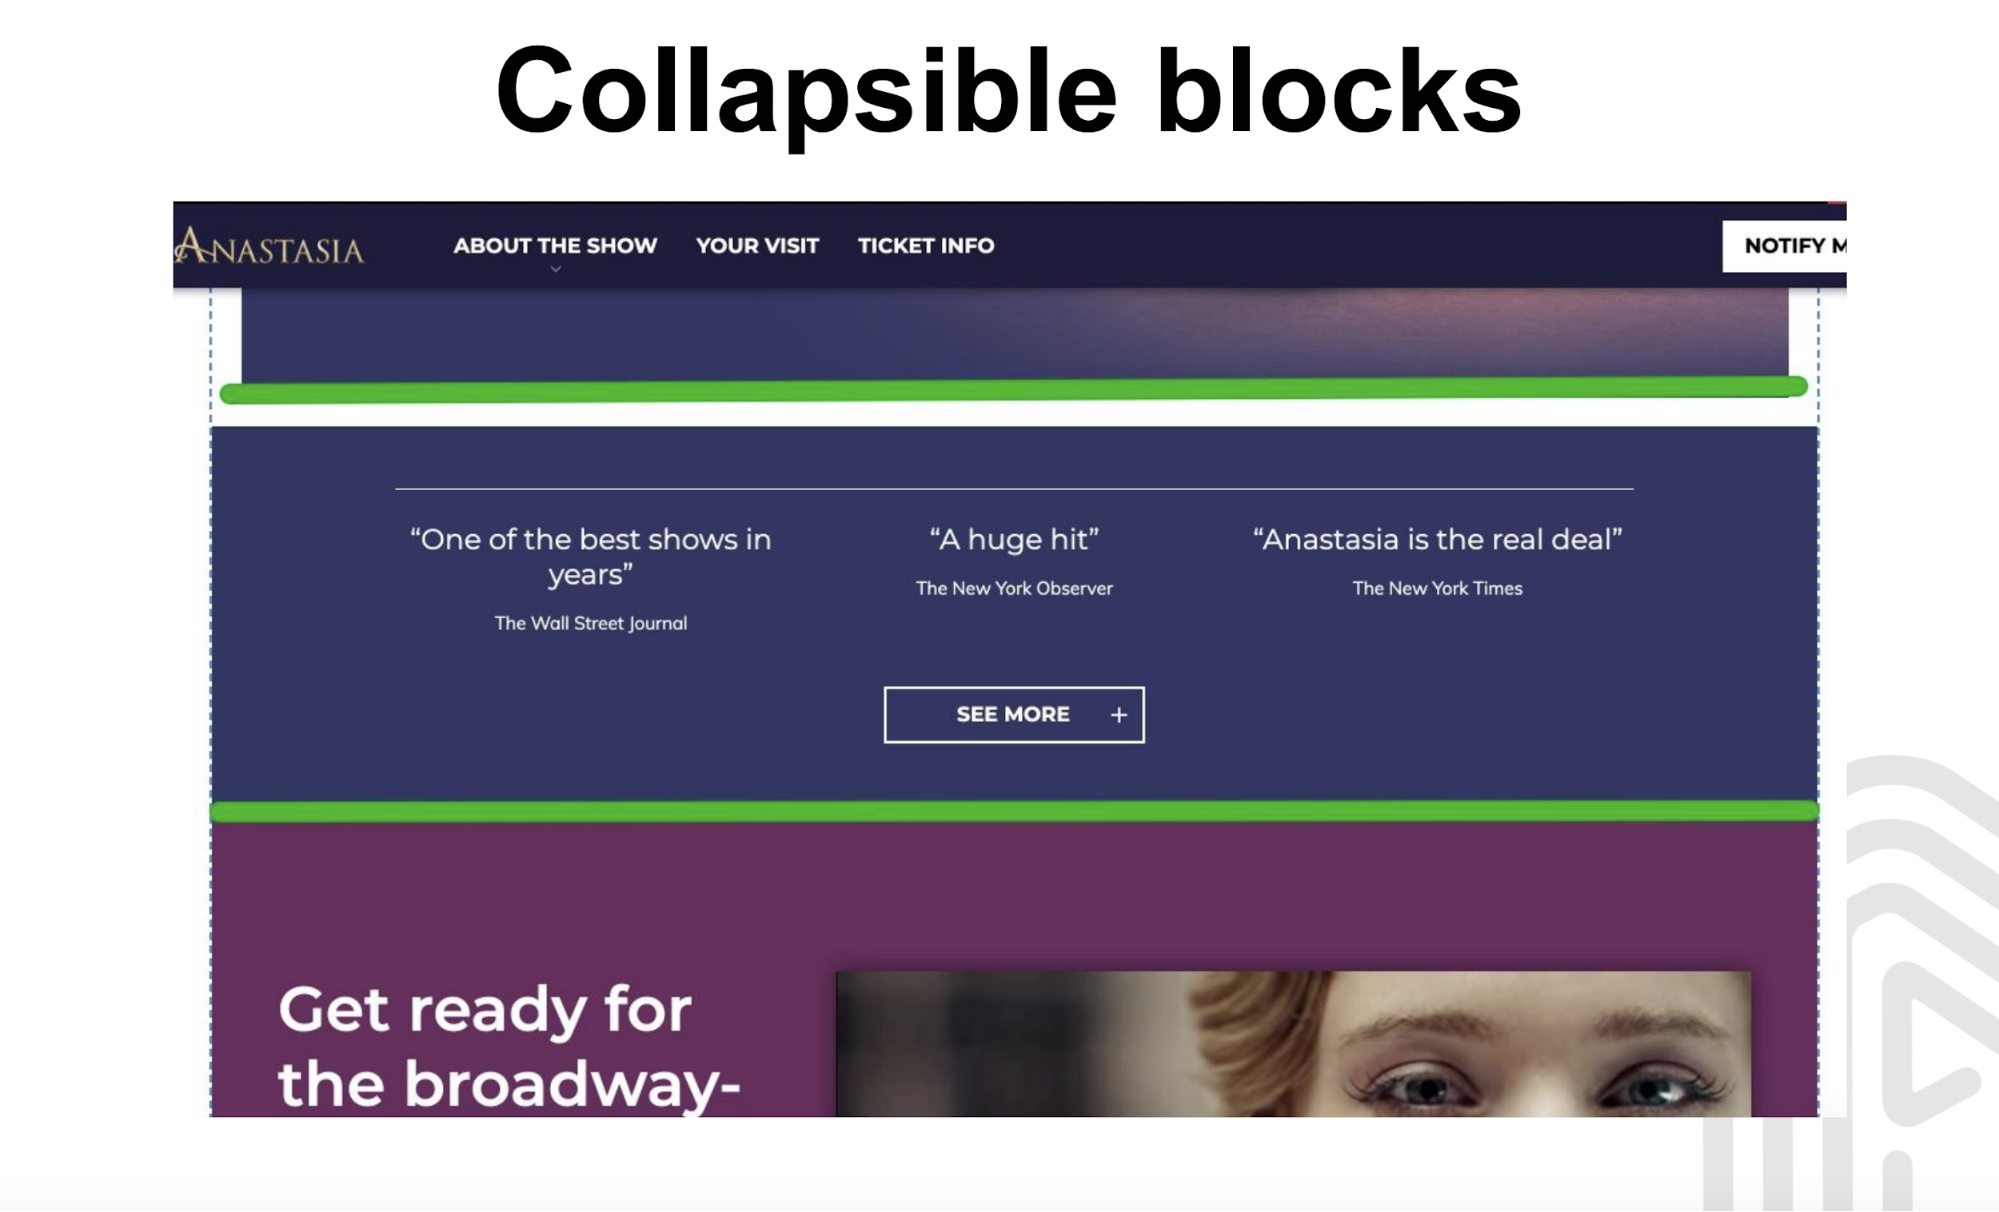
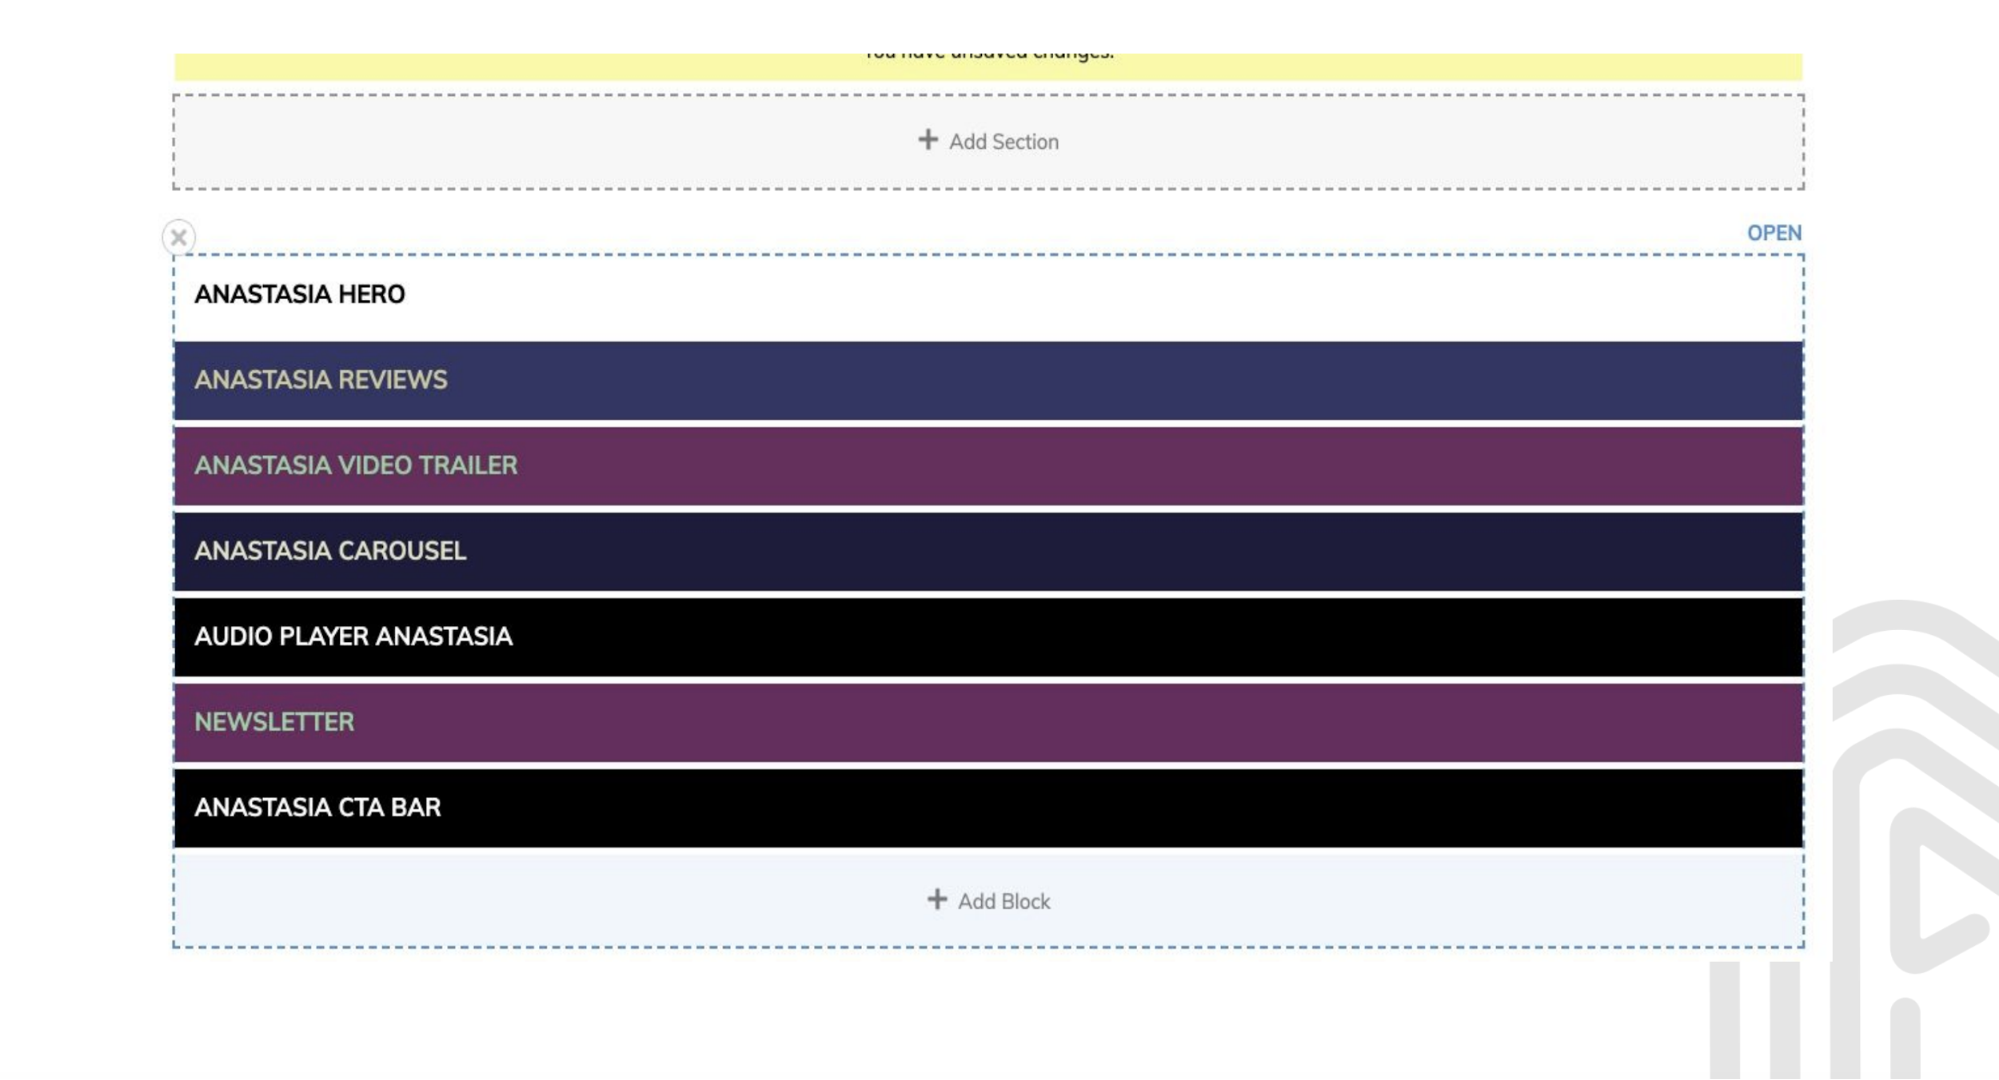
To create collapsible blocks in the easiest way possible, we set to facilitate your usual drag & drop. We extended the Layout Builder controller, added the “Collapse/Open” button, and thus made all the manipulations as clear as day. It is very convenient to drag and drop sections exactly where you need them with collapsing options.
Summary
Through a well-regarded approach, we created a website content management platform that is highly intuitive and easy to use. You can change any color and font type in any block or separate element simply by opening respective tabs, dragging and dropping elements, uploading images, etc.
All the navigational manipulations to edit the content on pages are already grasped pretty well by all new users according to our ongoing practice. Meanwhile, we hope our experience helps you in your own Drupal ventures. Some outstanding yet utterly simple solutions can be achieved by any Drupal specialist out there.
The blog post is based on AnyforSoft Drupal developer Vitalii Zinenko’s speech at Kyiv Drupal Camp.
